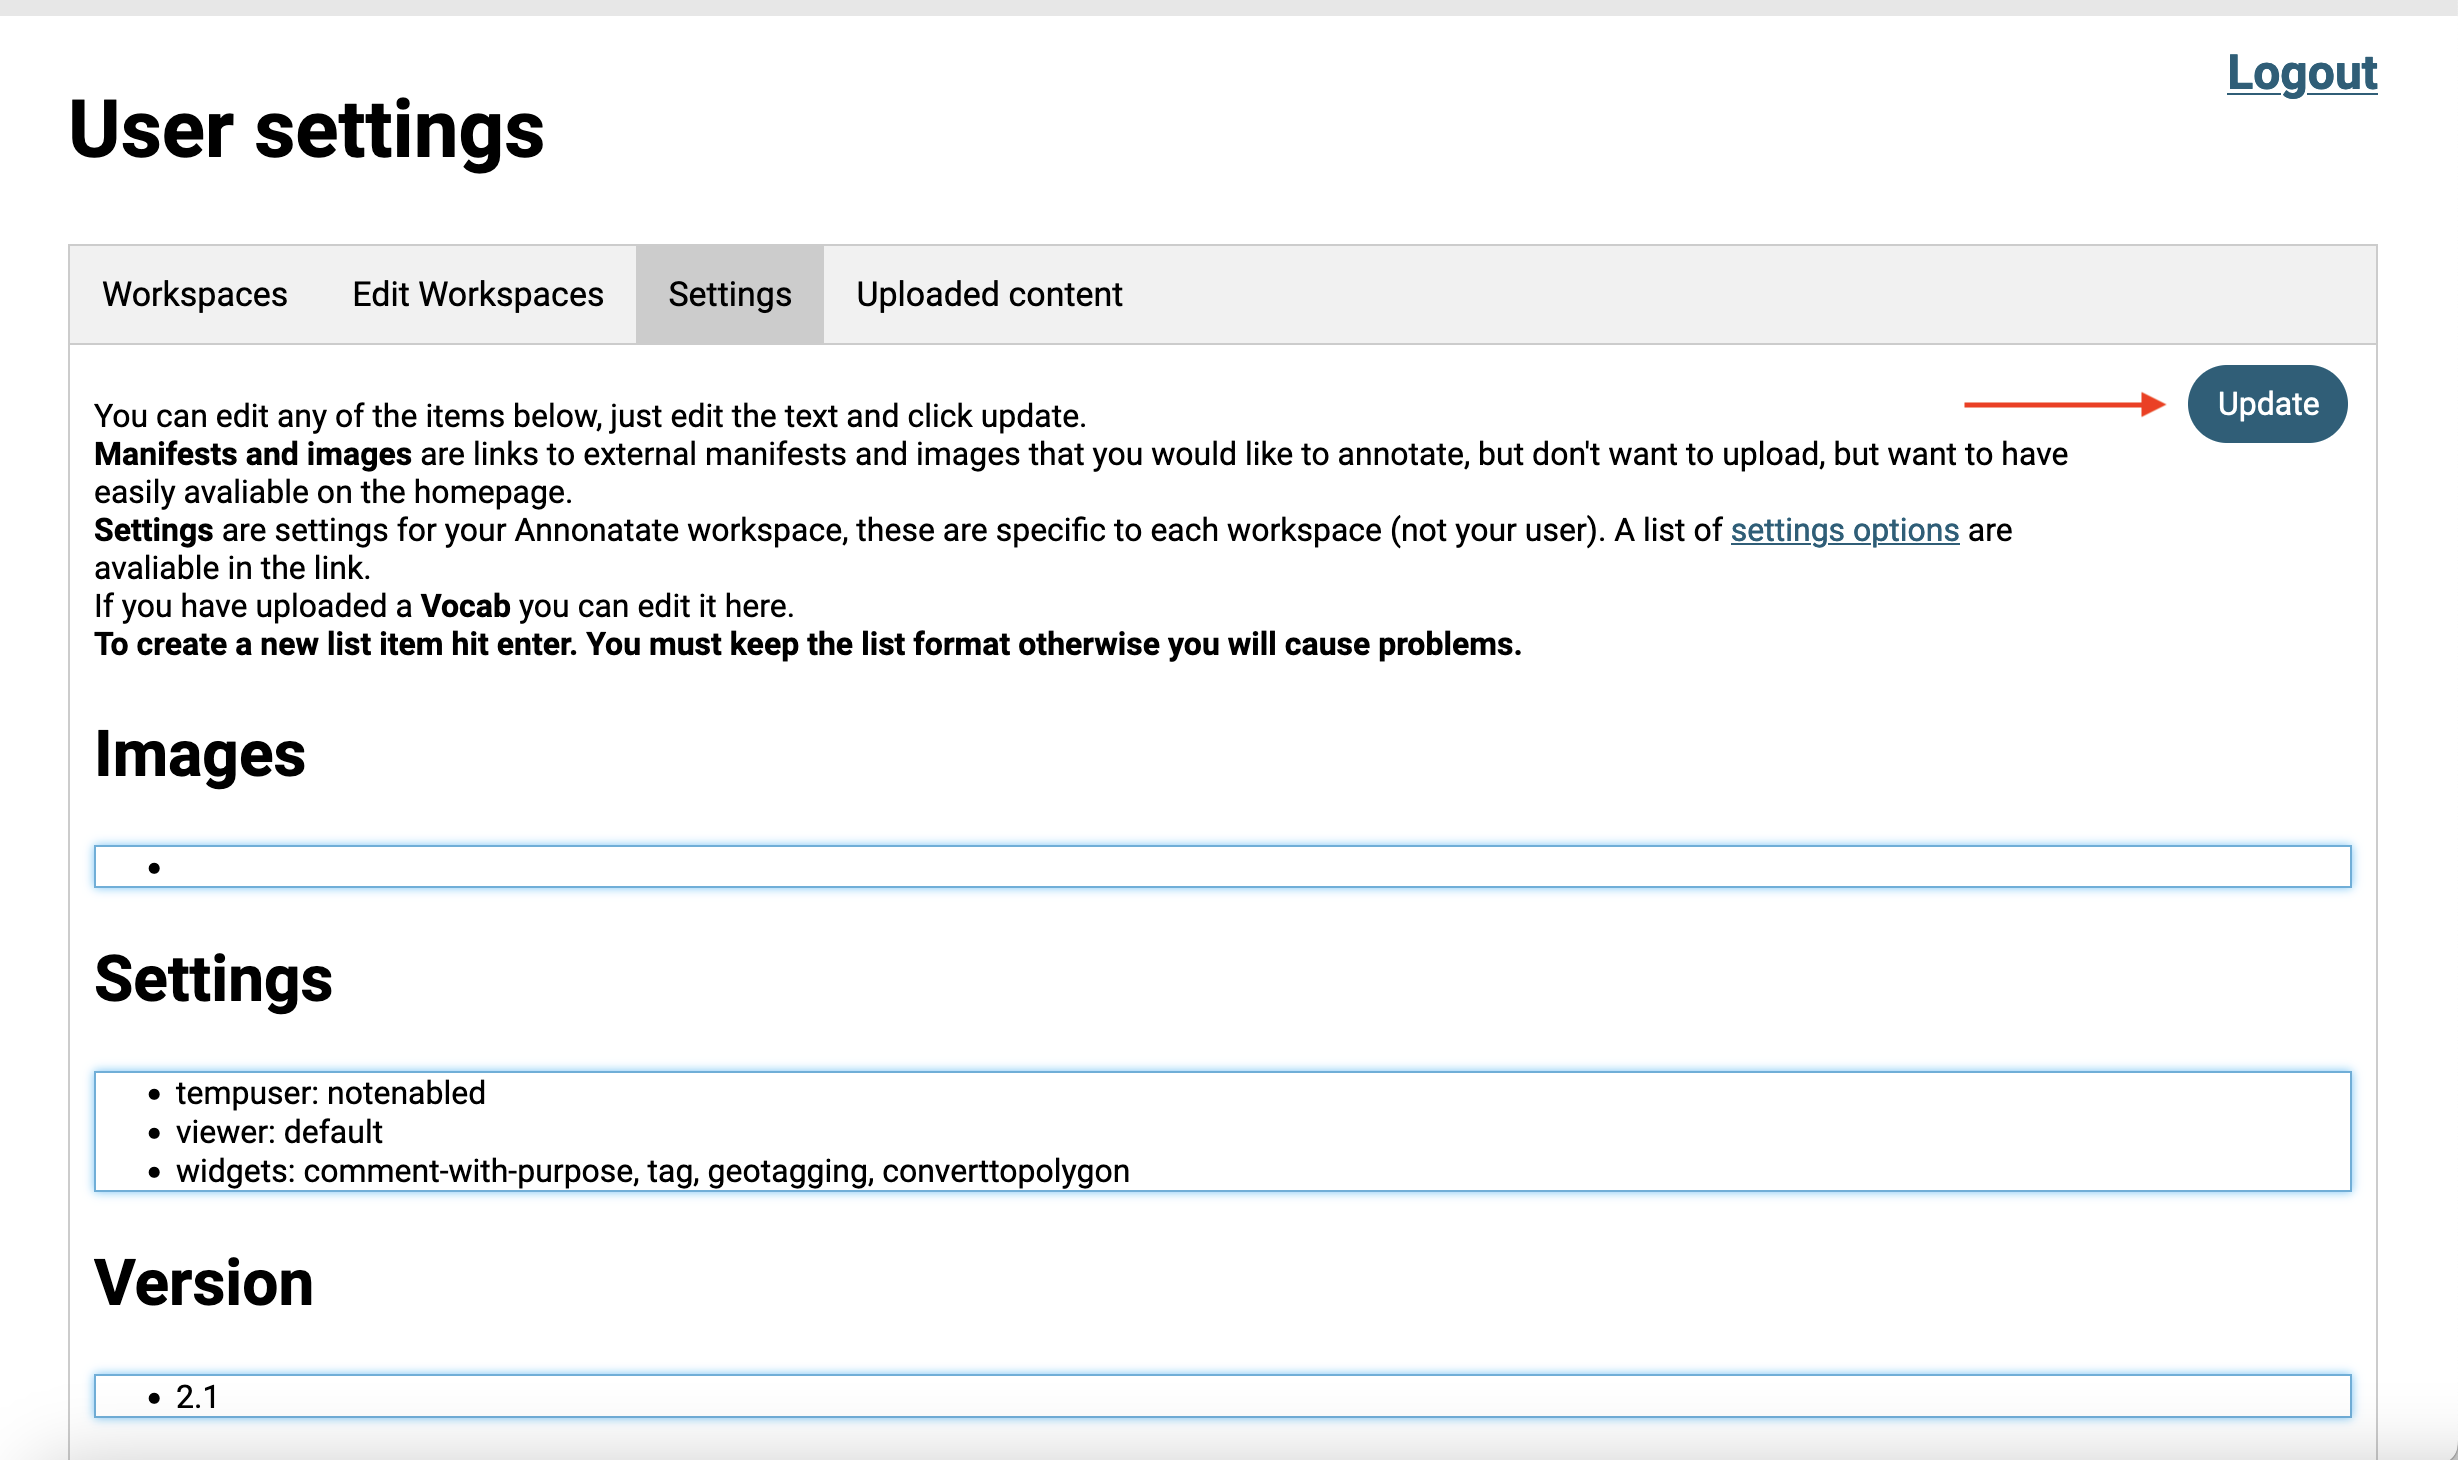
- There are multiple settings avaliable. They can be edited by going to the settings page.
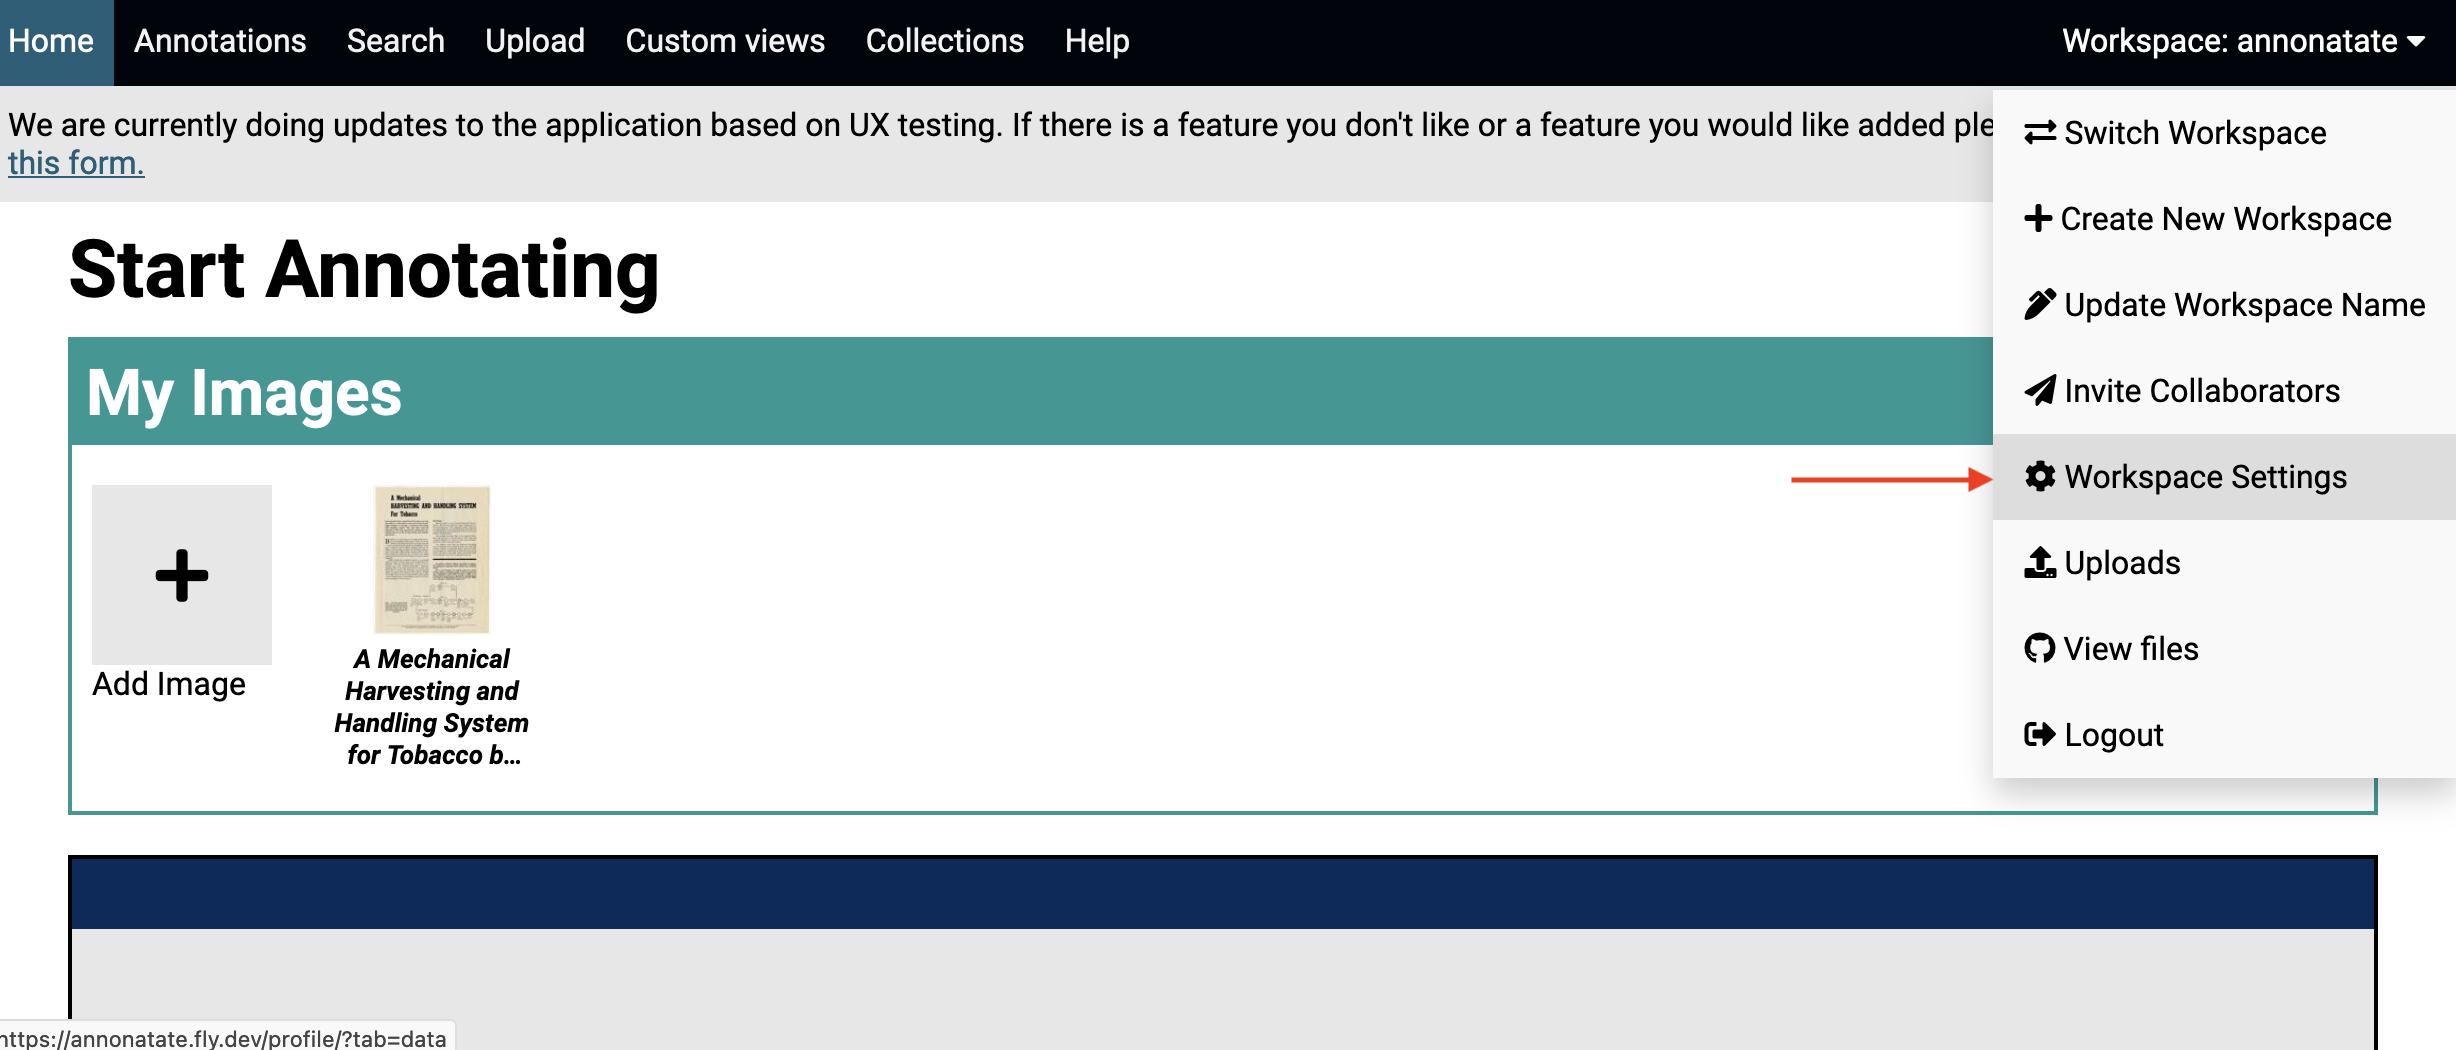
- Update the settings field and click the update button.
Viewer
- options: default, mirador
- default option: default (Annotorious)
What does this do
This allows you to choose which tool you want to use for annotating images. The default annotation tool is called Annotorious and it create W3 web annotations. The other option is Mirador2 which will give you an open annotation (older standar).
We are currently looking at integrating Mirador3, however at the current time, Mirador3’s annotations tools are not at a point where we can integrate them with our application.
Tempuser
- options: notenabled, enabled
- default option: notenabled
What does this do
This was built for our classroom instances. It allows for users to share a GitHub login and still have a specific identifiable username to be associated with the annotations create. When the user logs in, they are given a form they have to fill out with a unique temporary username they create for themselves.
Widgets (only works with the default viewer)
- options: comment-with-purpose, comment, tag, geotagging,converttopolygon
- default option: comment-with-purpose, tag, geotagging,converttopolygon
What does this do
This allows you to choose which fields show up on the default viewer. Currenlty we use ‘comment-with-purpose’ (see Dropdown on creating annotation page, the ‘tag’ (allows for the creation of tags), ‘geotagging’ (allows for geotagging), ‘converttopolygon’ displays a button on rectangular annotations that can be converted into polygons. This setting allows you to create a annotation view for the default viewer, this is not necessary for the Mirador viewer. The editor display each type in the order they are entered.