Create a Custom view for an existing annotation
-
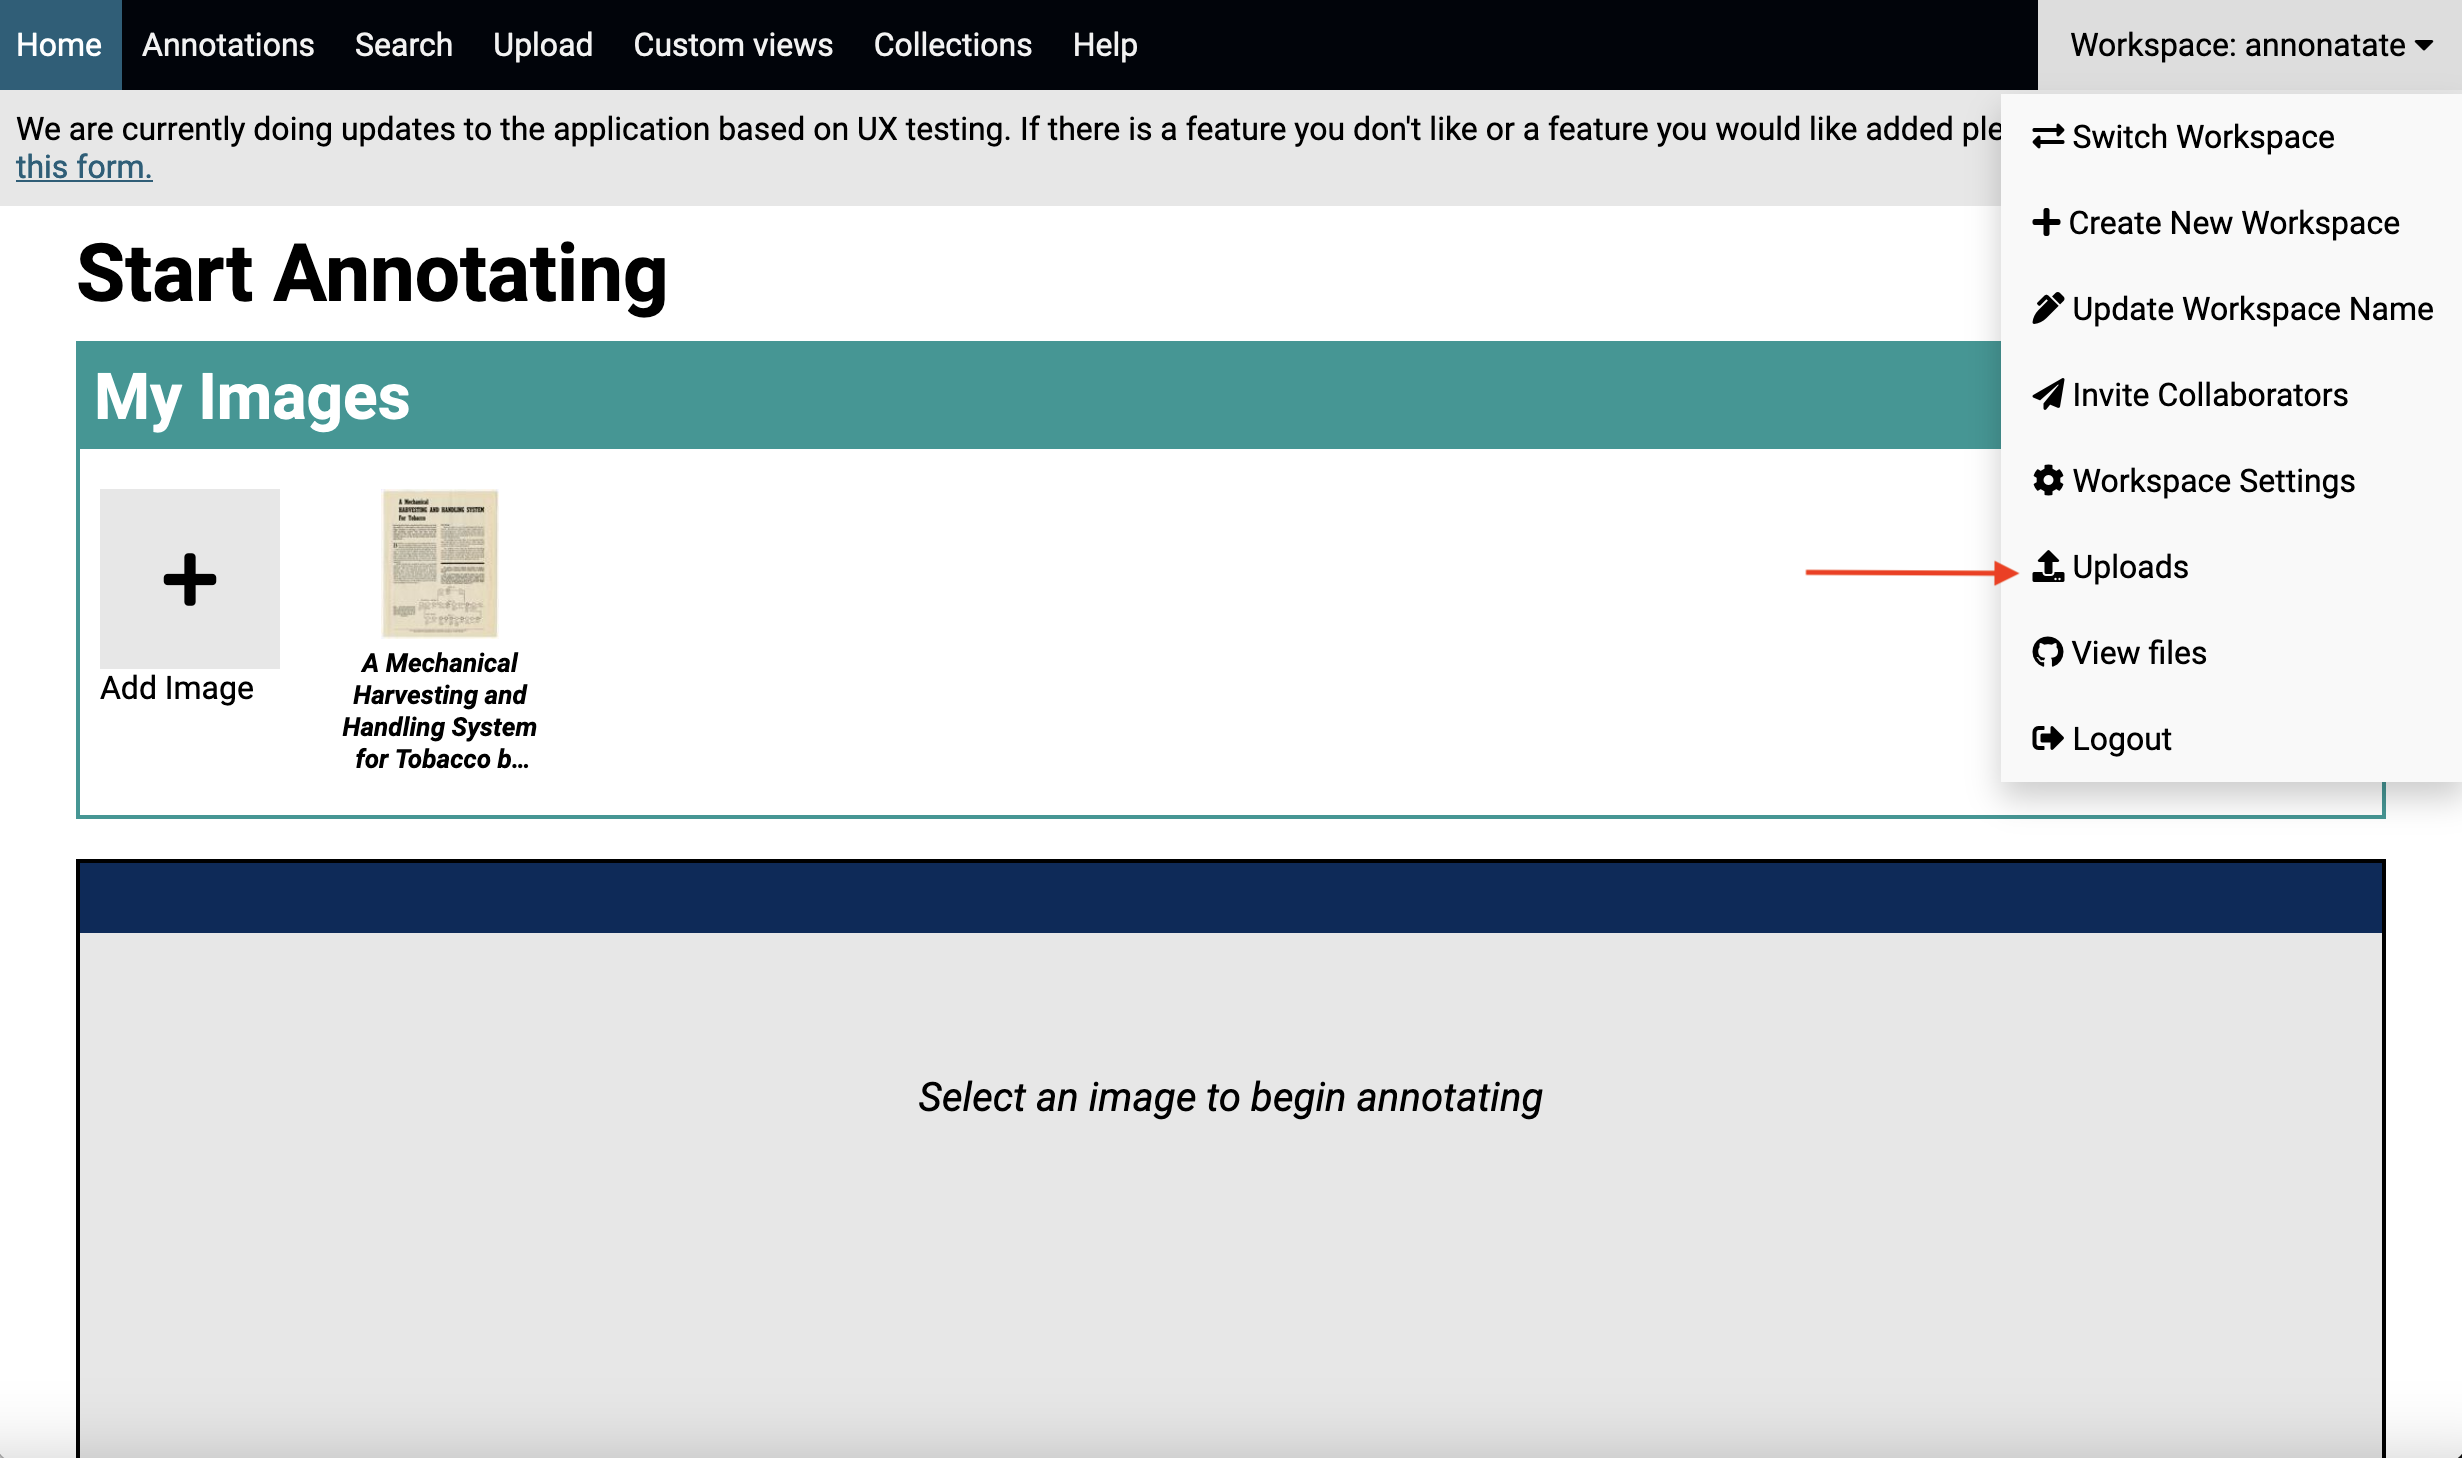
Go to the uploads page.
-
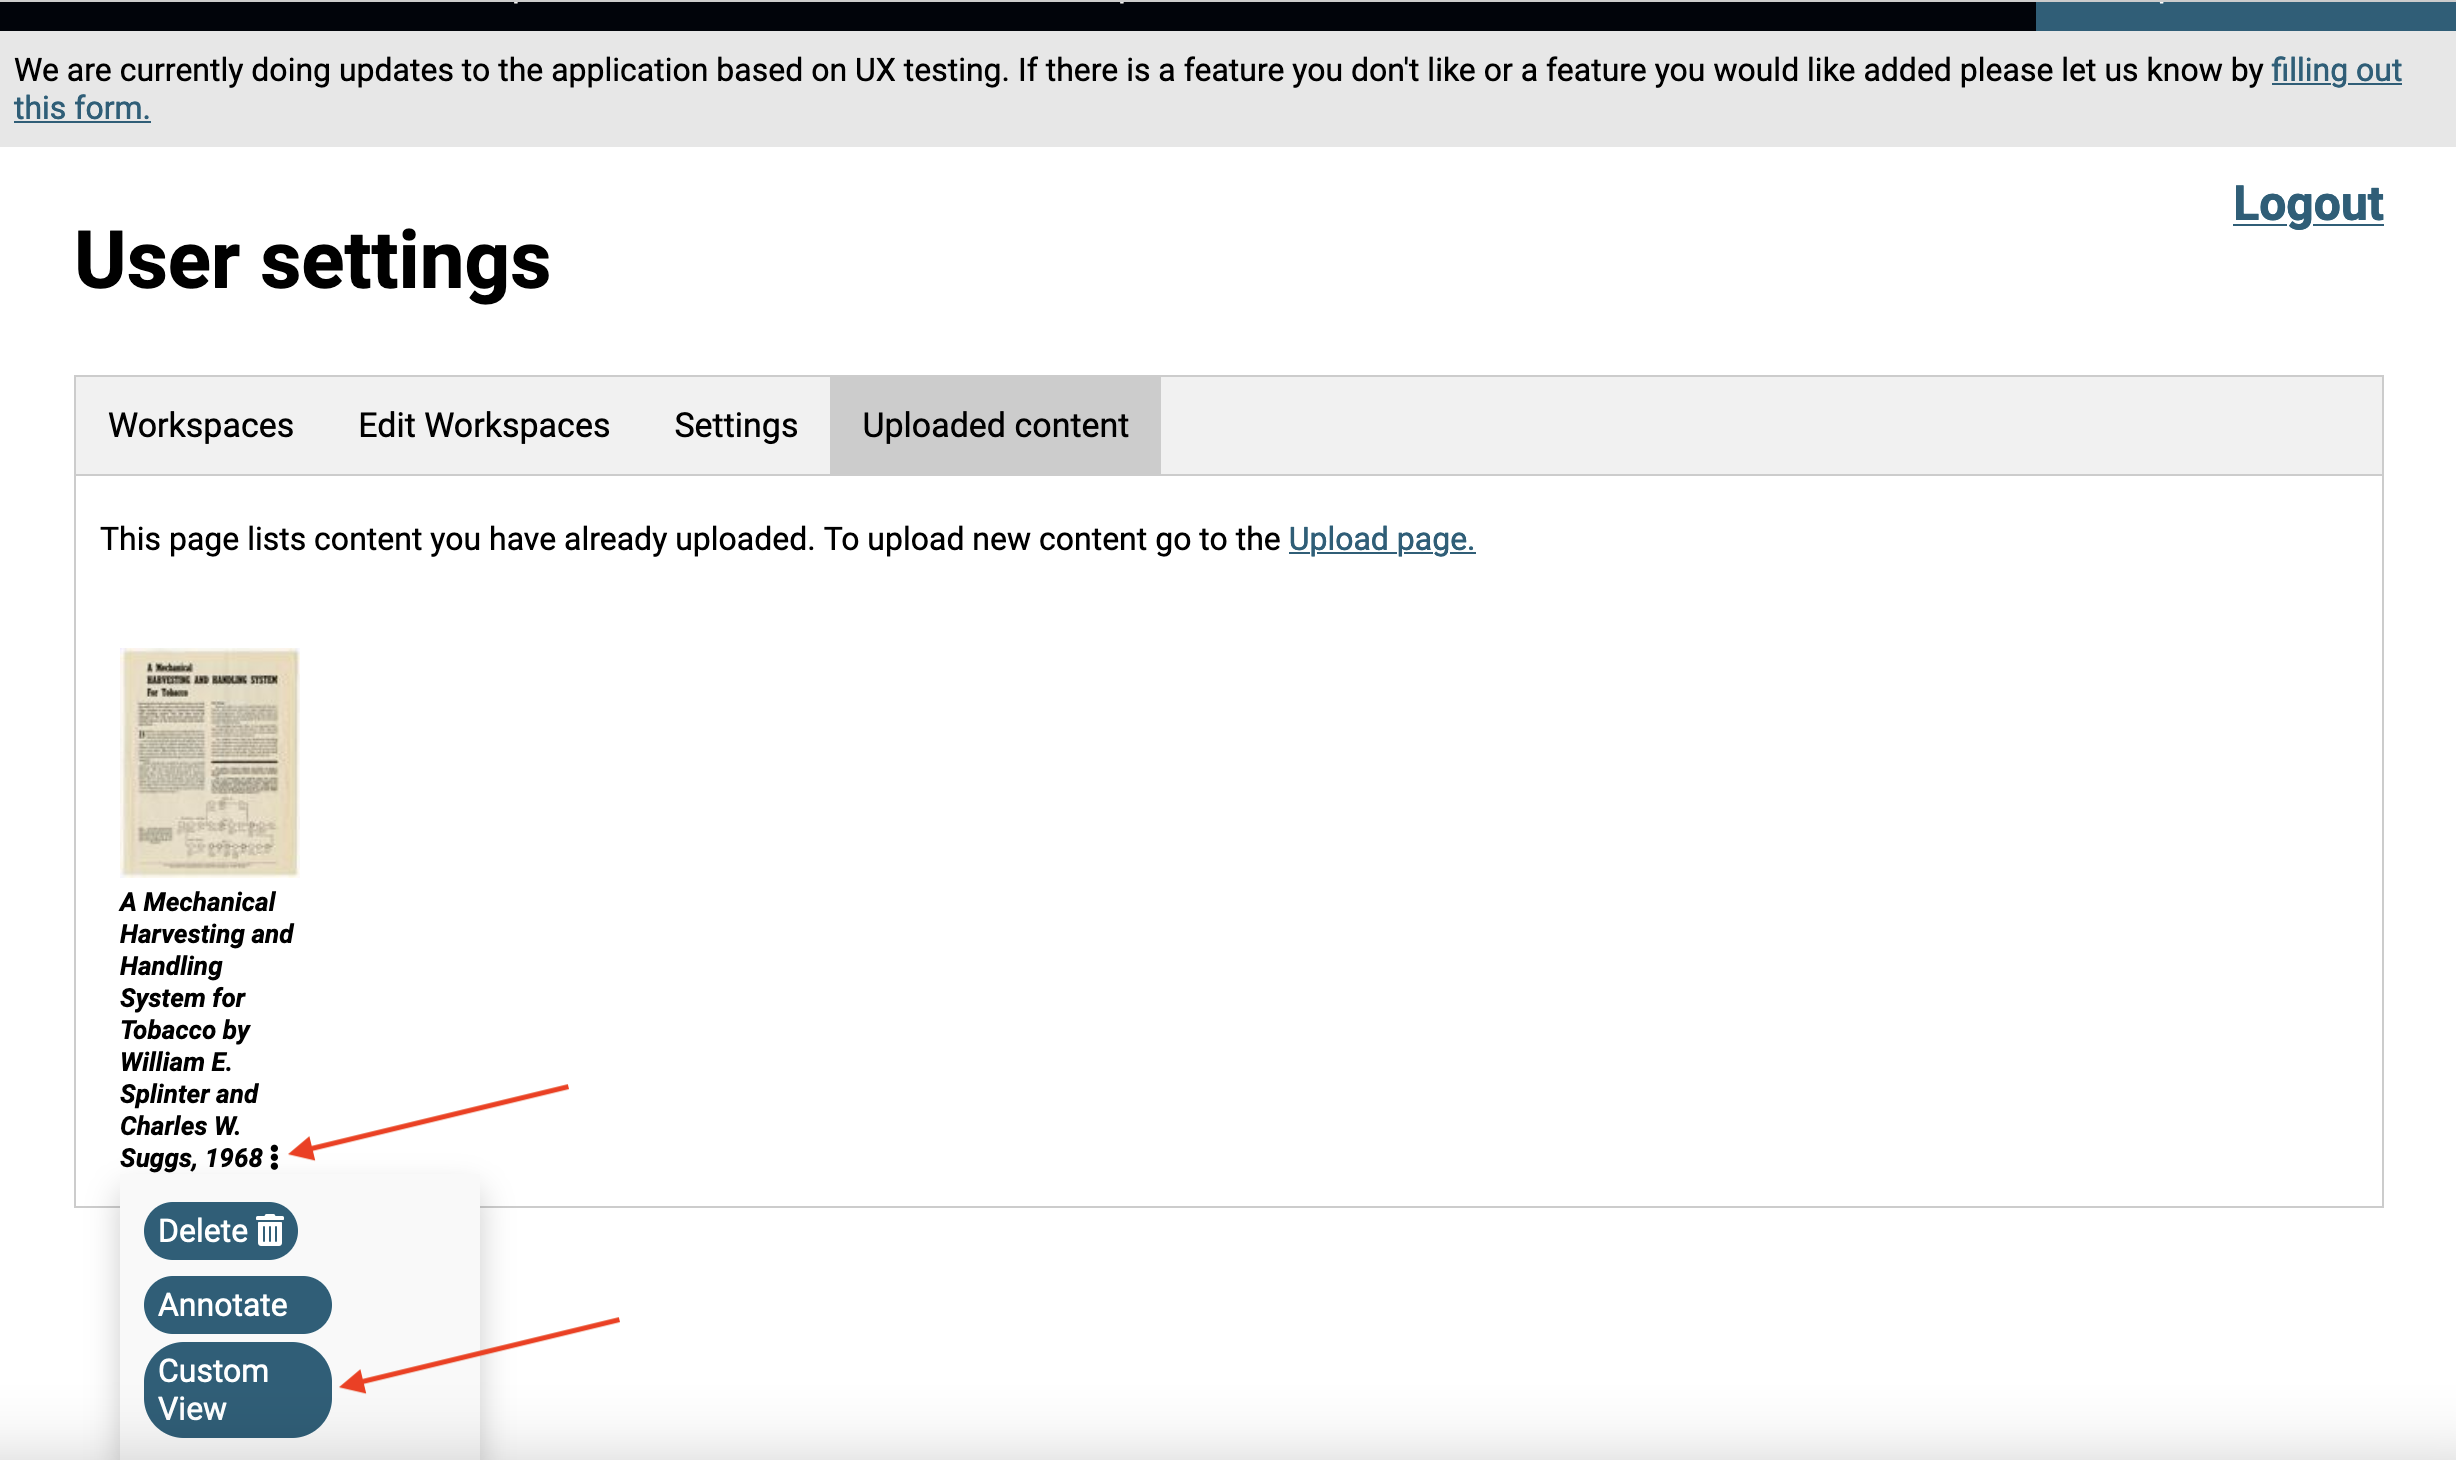
Click on the three vertical dots and then click on the custom view button.
-
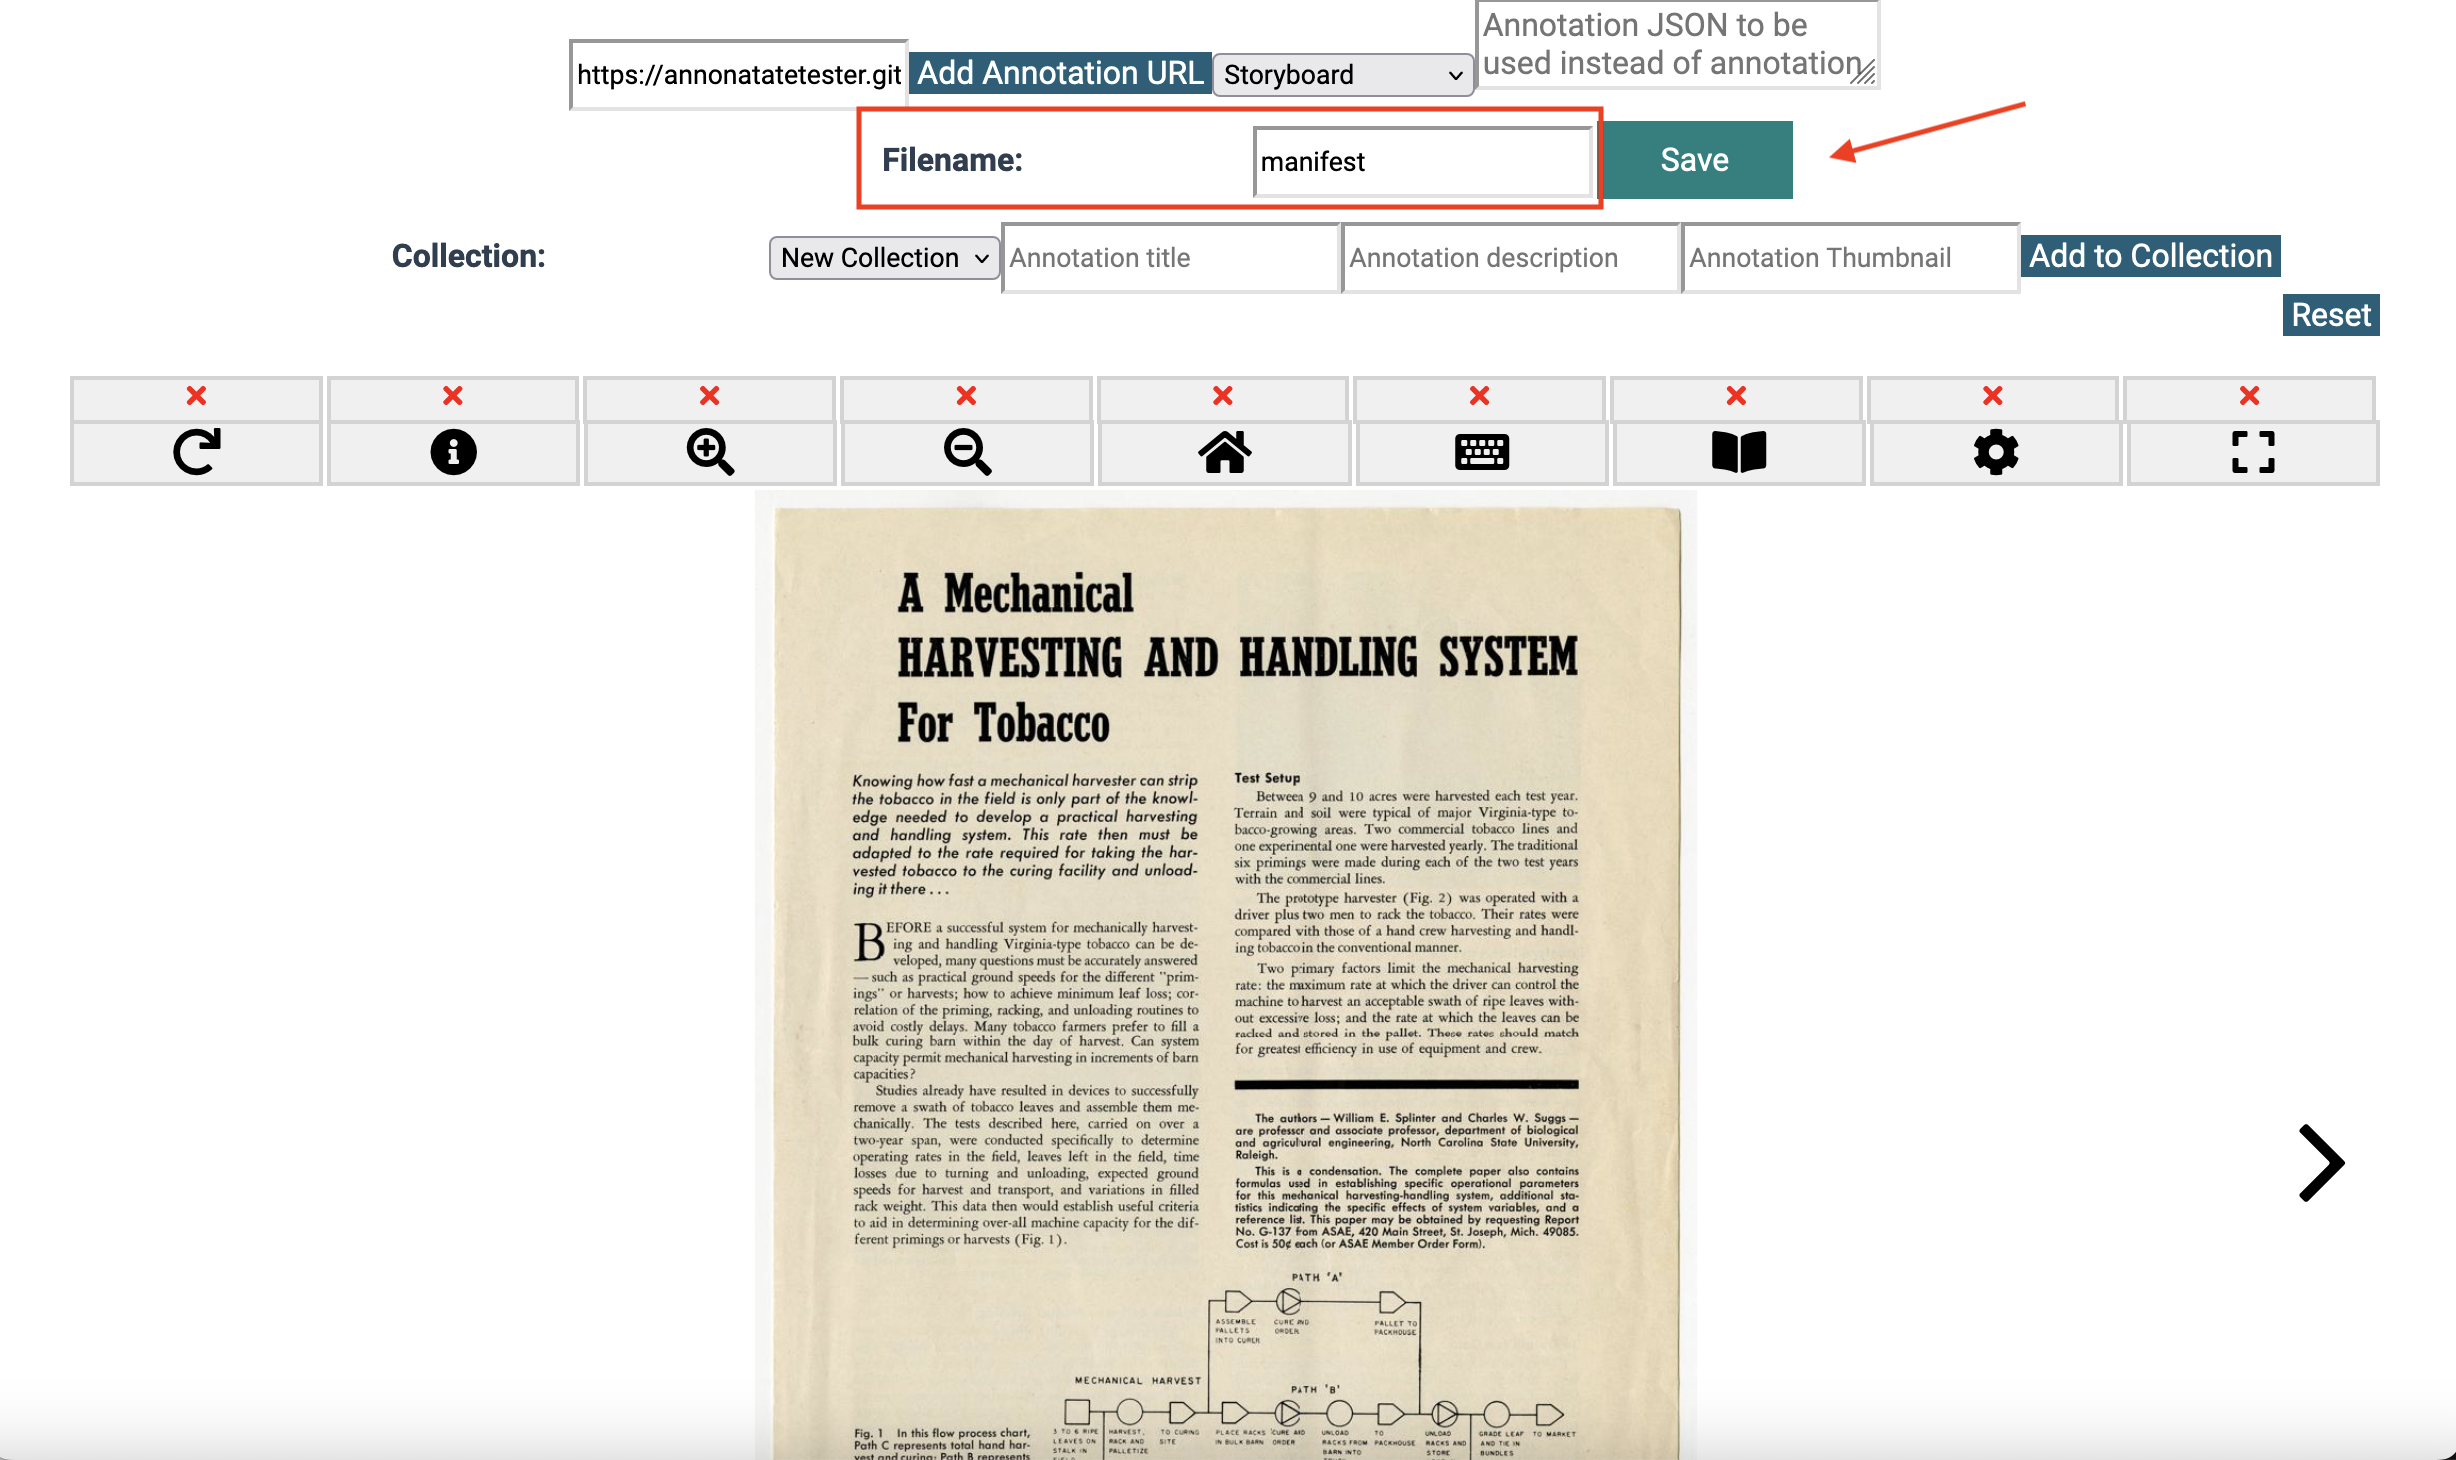
Update the viewer to reflect how you want the viewer to look, update the filename and save.
-
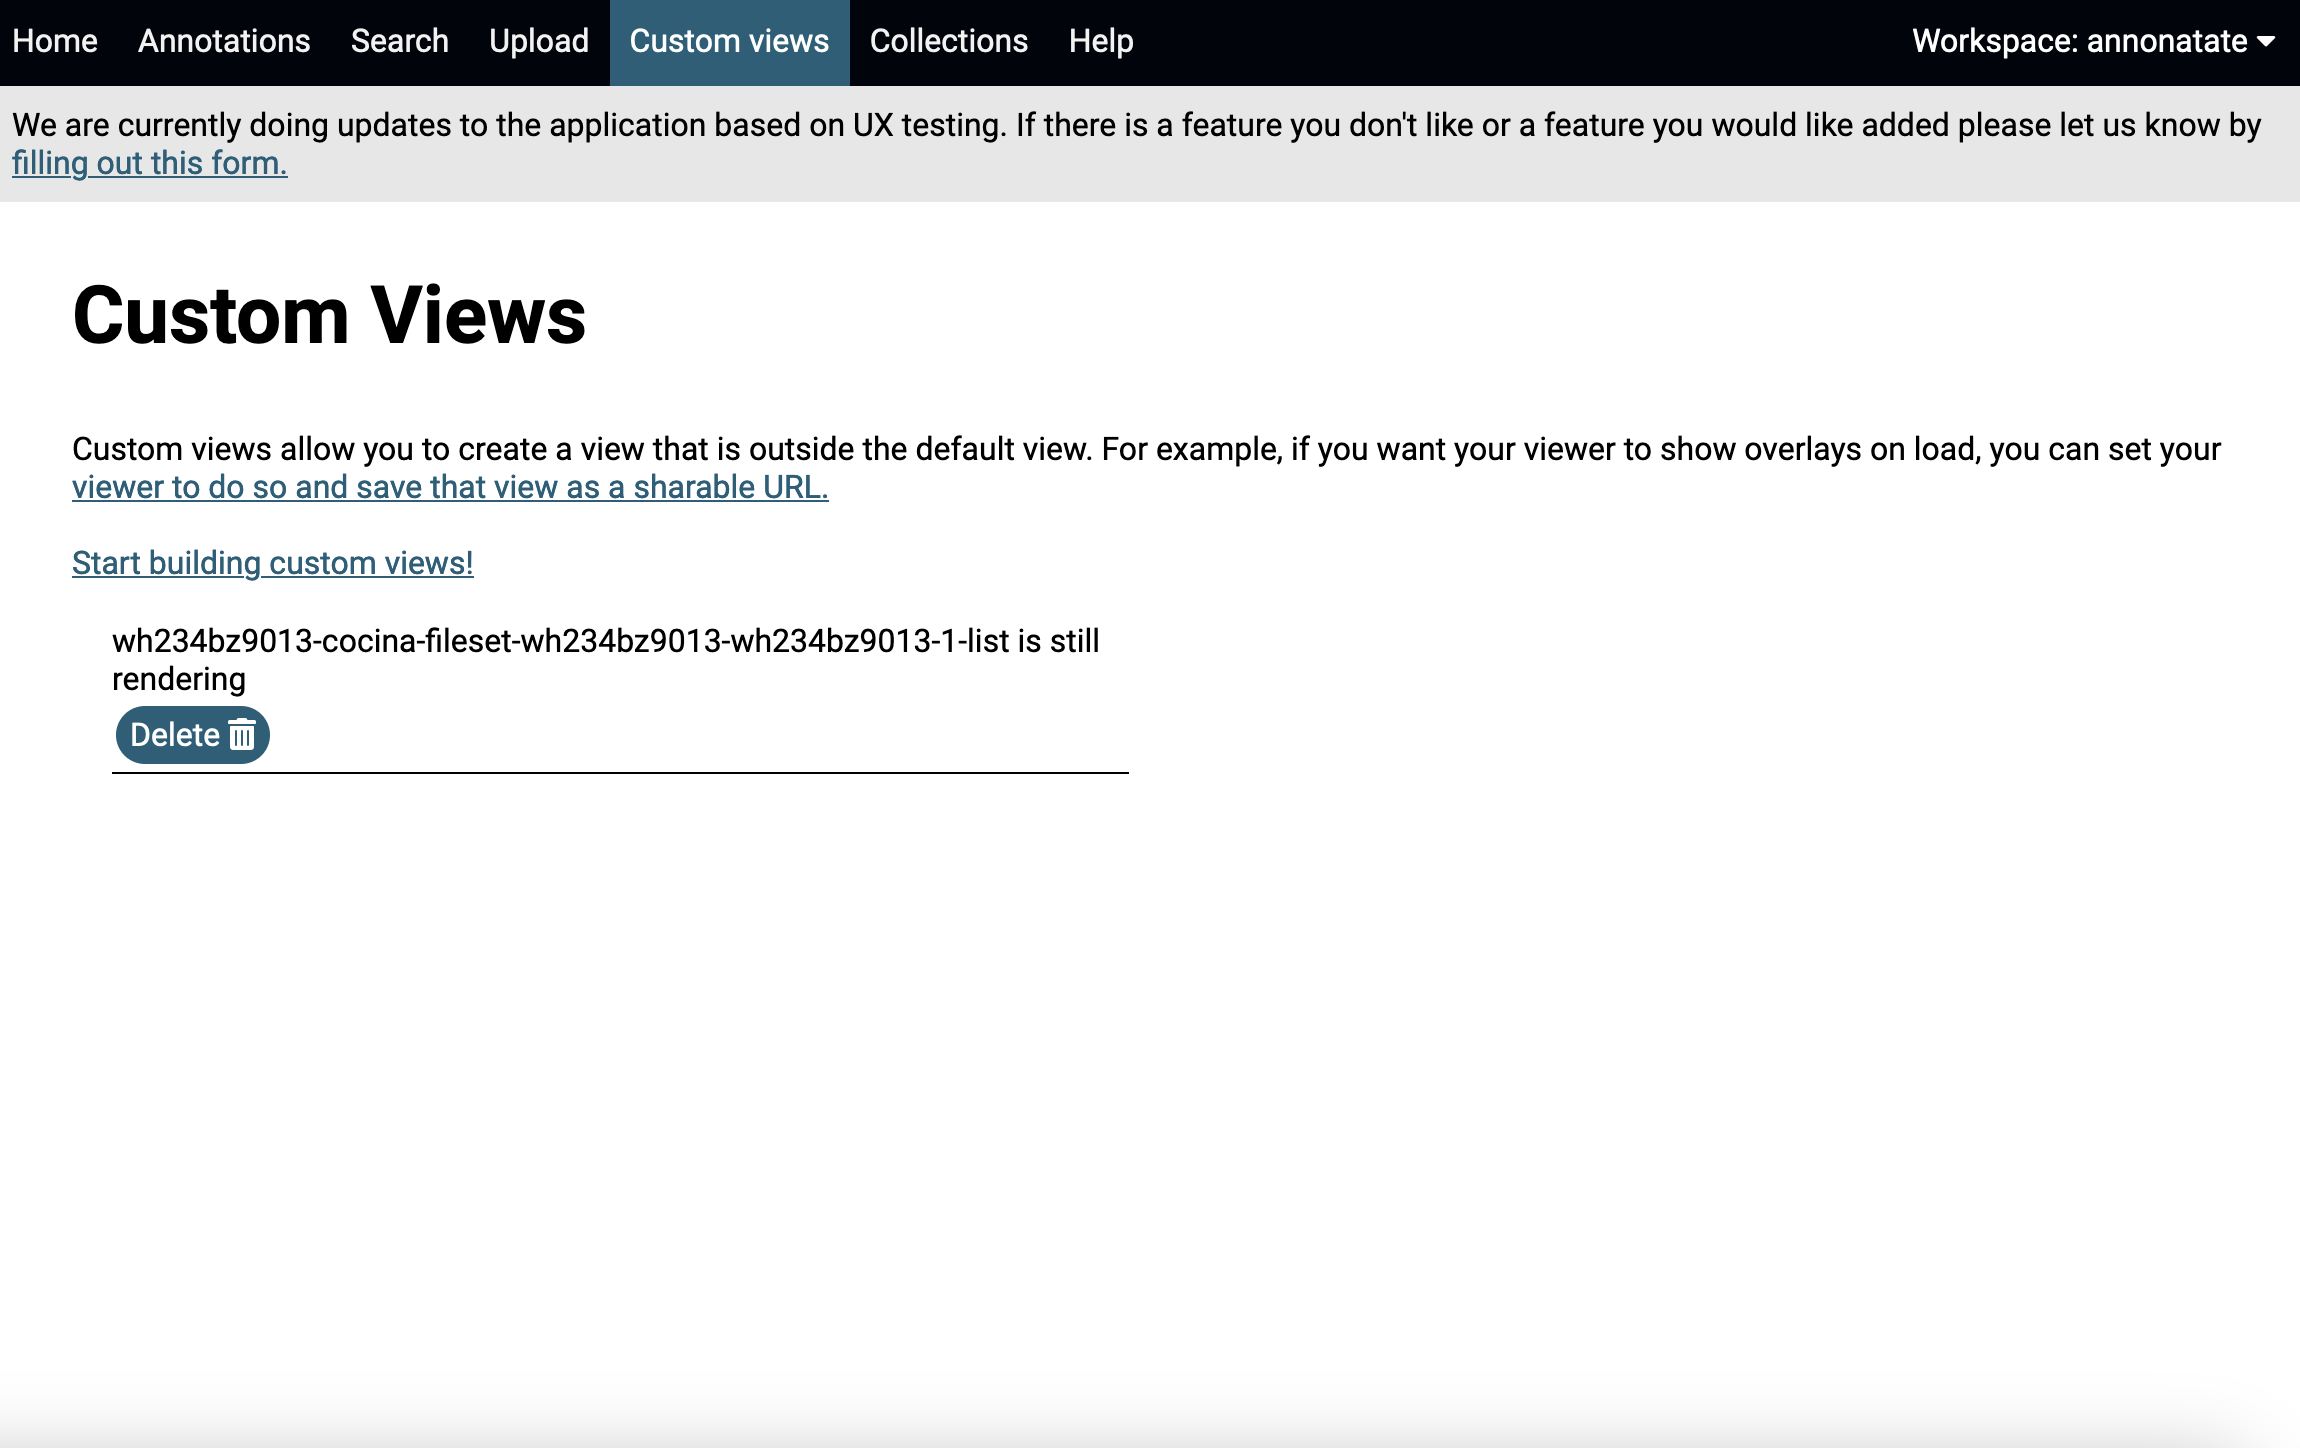
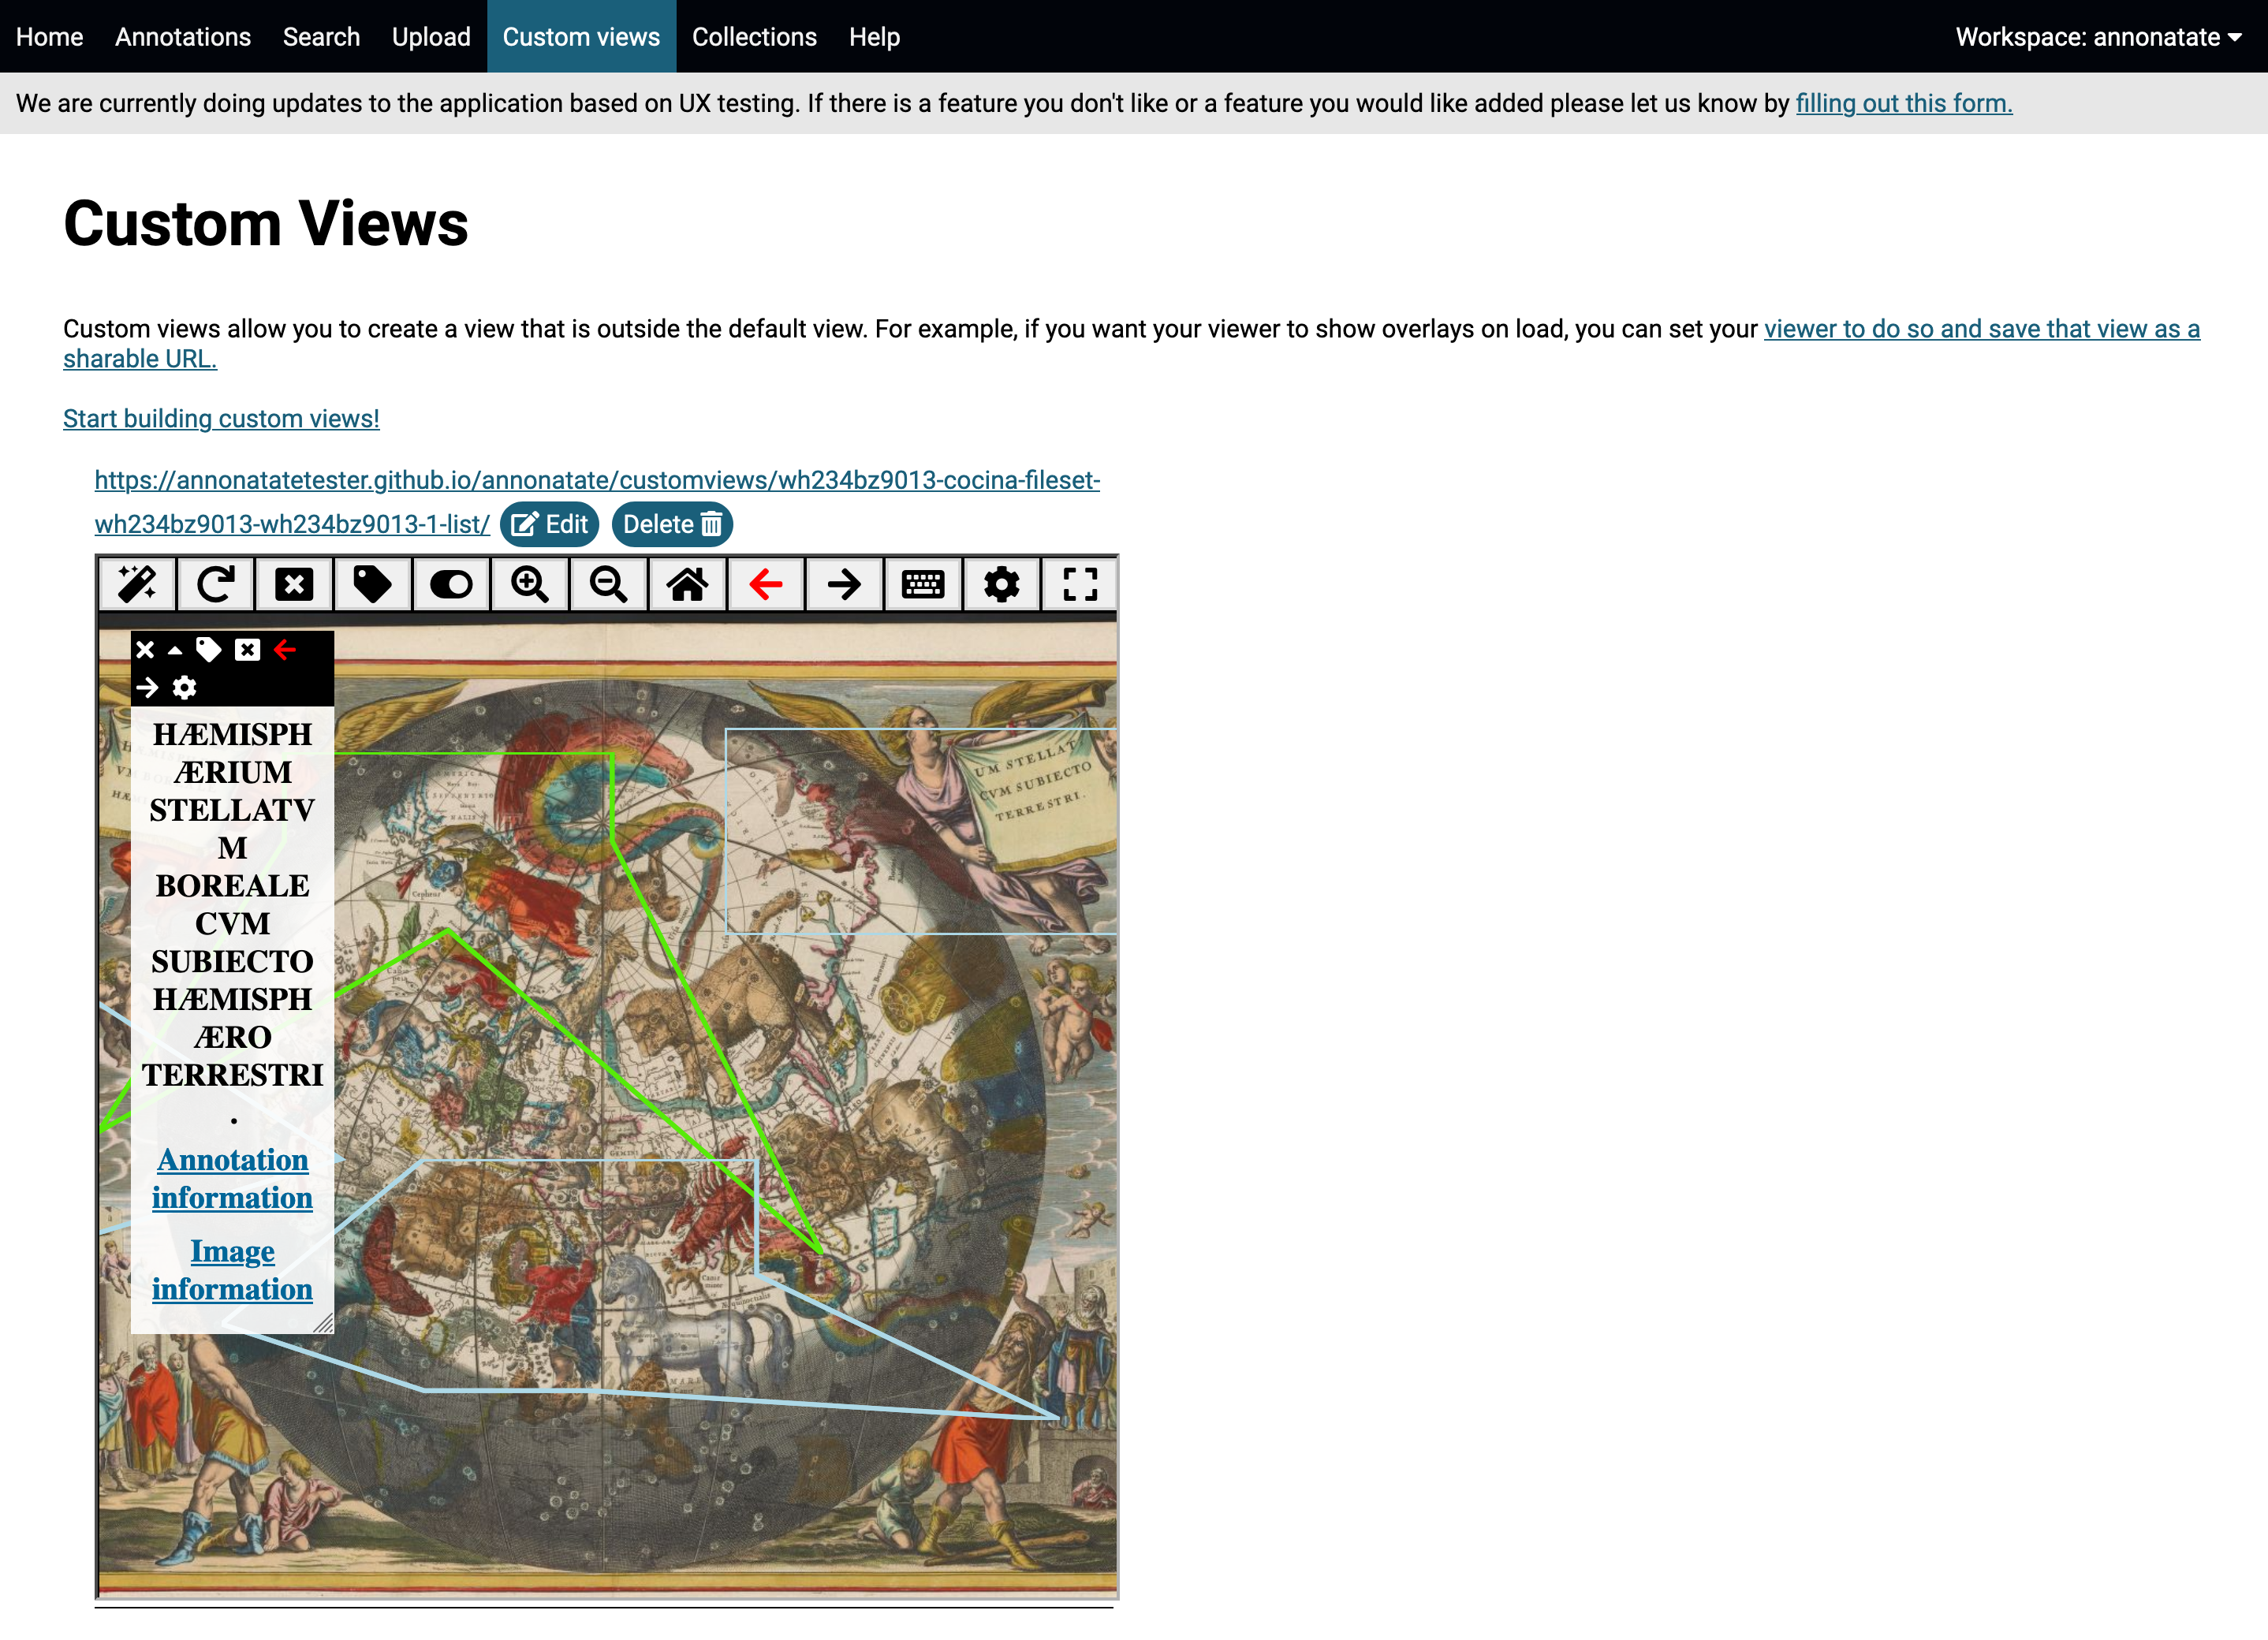
All custom views are saved the the custom view page. After the view is done rendering the page will automatically update.
-
After the custom view is done building you can open the url in a new browser (see next step) or edit the view. These pages can be easily embeded into another webpage with an iframe.
-
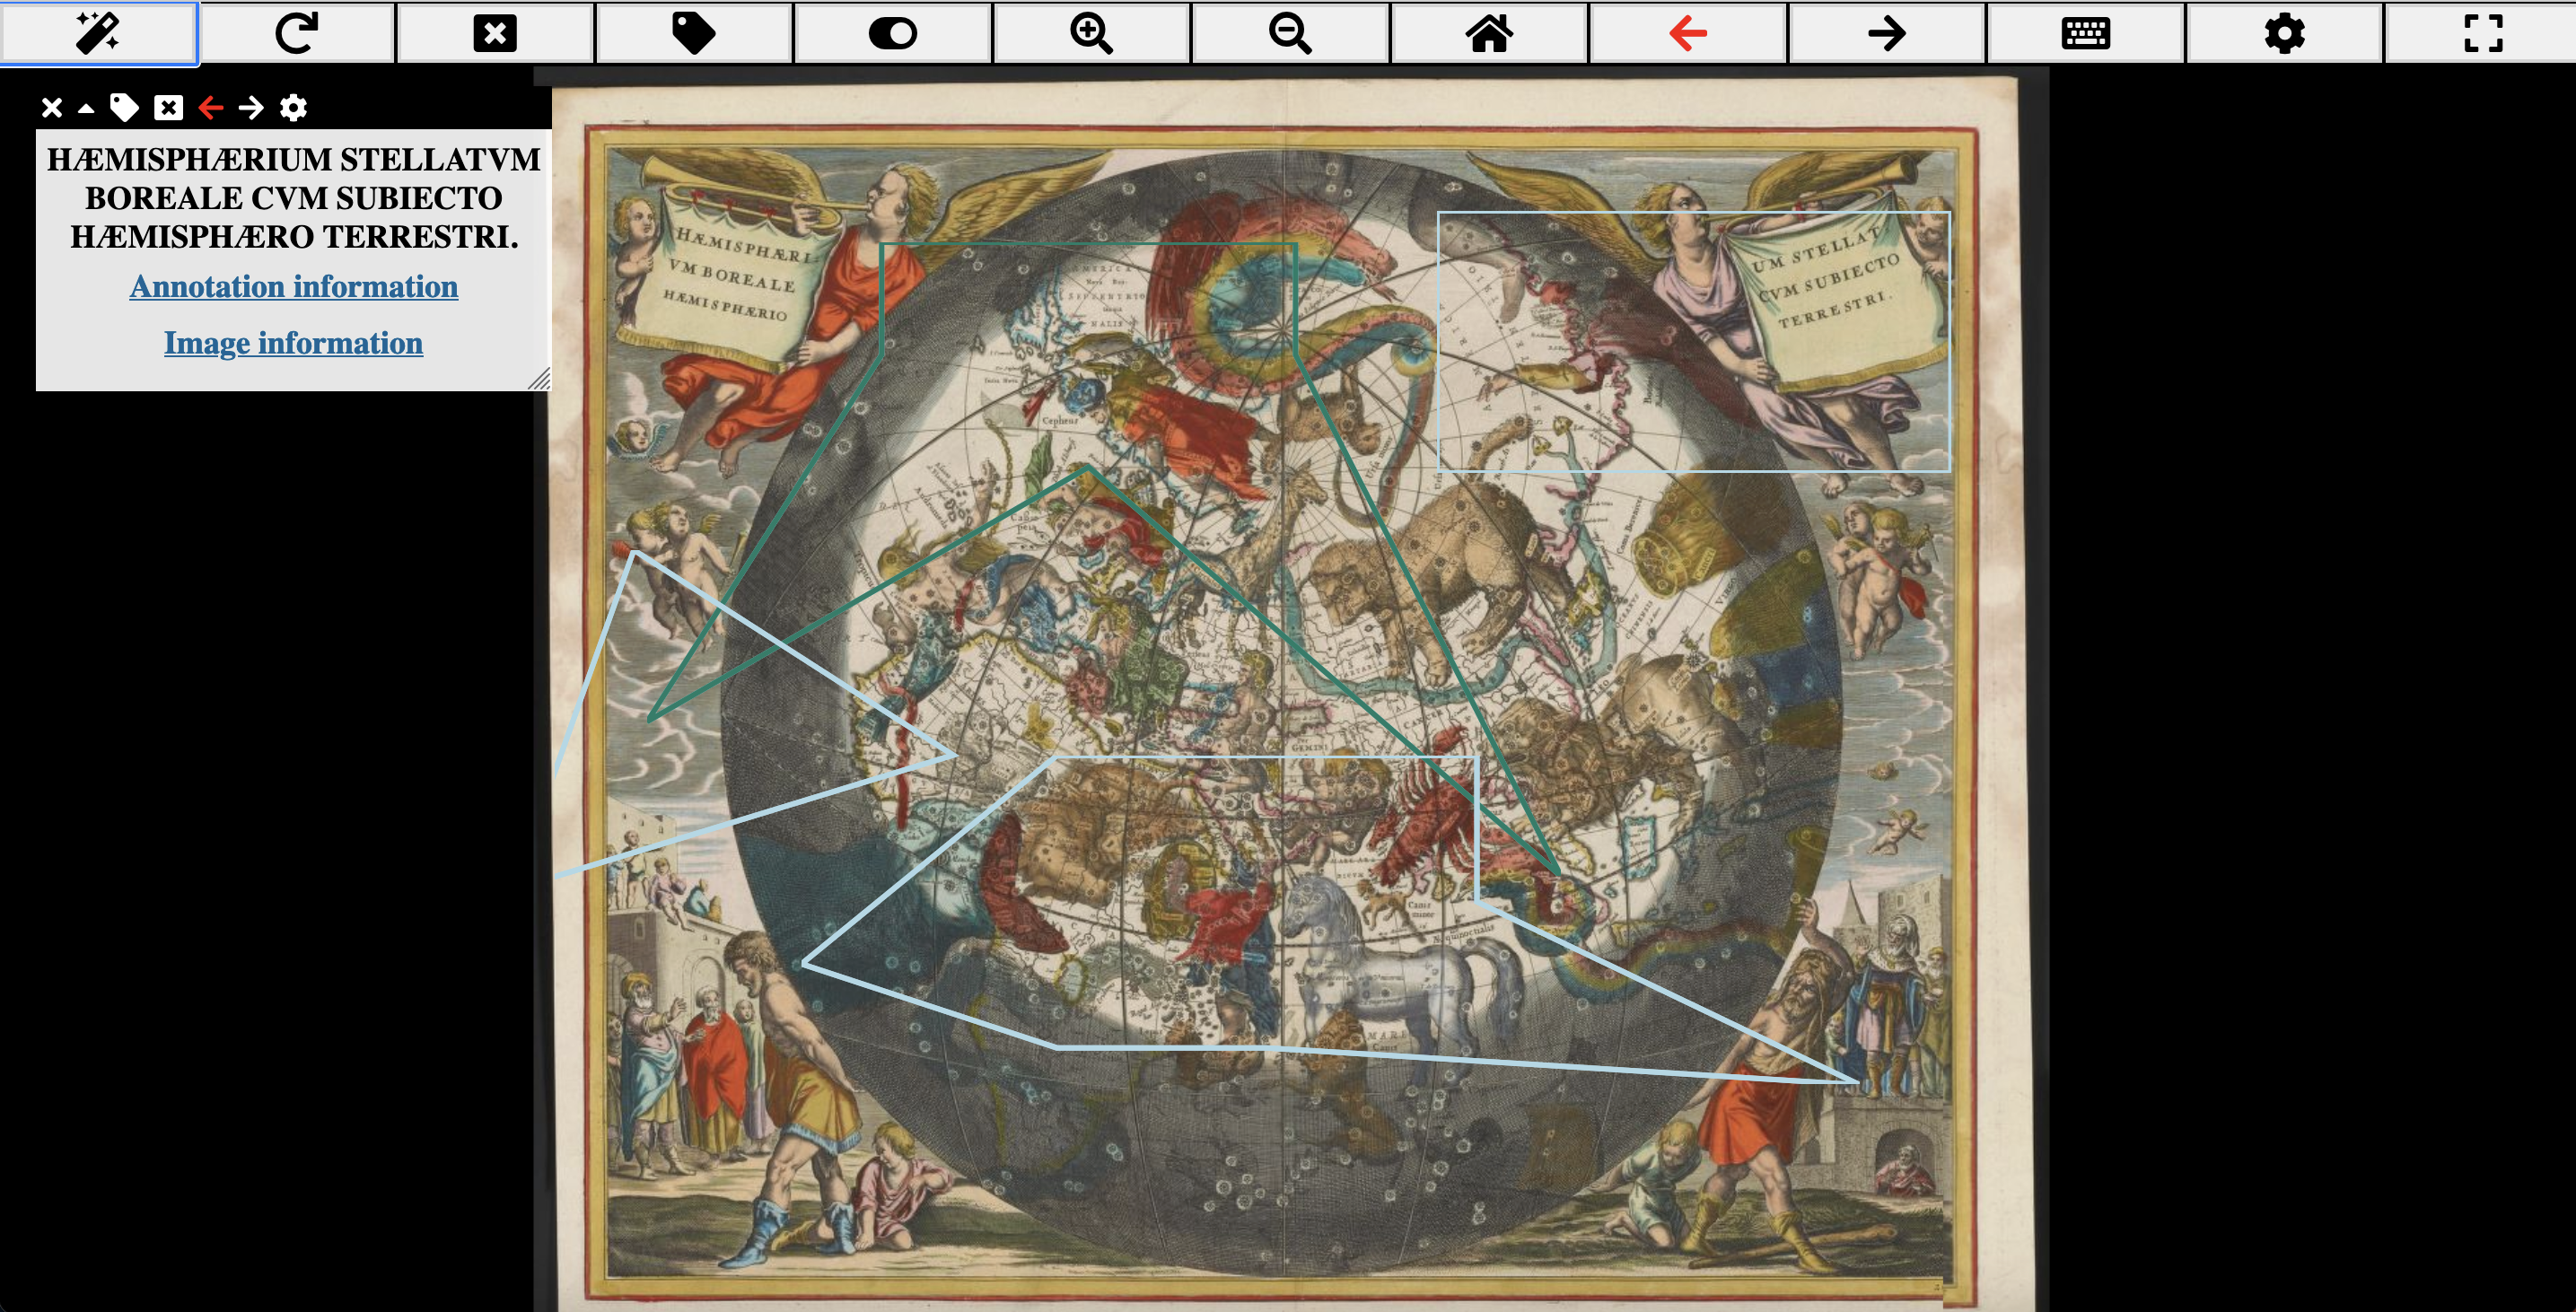
Custom view in browser
Tips
- You do not have to wait on a page for the URL to load. You can go create annotations, collections etc and come back the page.
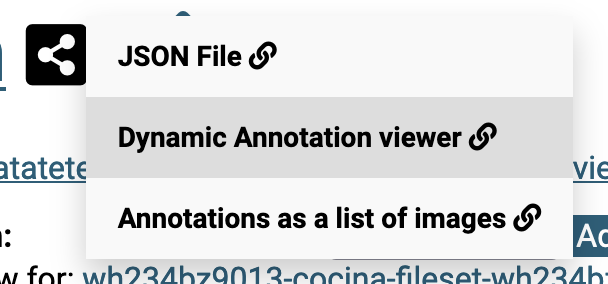
- If you don’t plan on adding additional setting to your view, you do not need to create a custom view. Each annotation has a permanent URL that will display your annotation as a storyboard or image view. It can be found under the share button.
- You can also create custom views in Annona’s tag builder, but you will not be able to save these views to your workspace, however there is a permanent display URL that gets rendered.