Create a Custom view for an existing annotation
-
Find the annotation you want to create a custom view for. You can find annotations to create custom views for via the Annotations page or Search page.
-
Click on the link after
Build custom view for: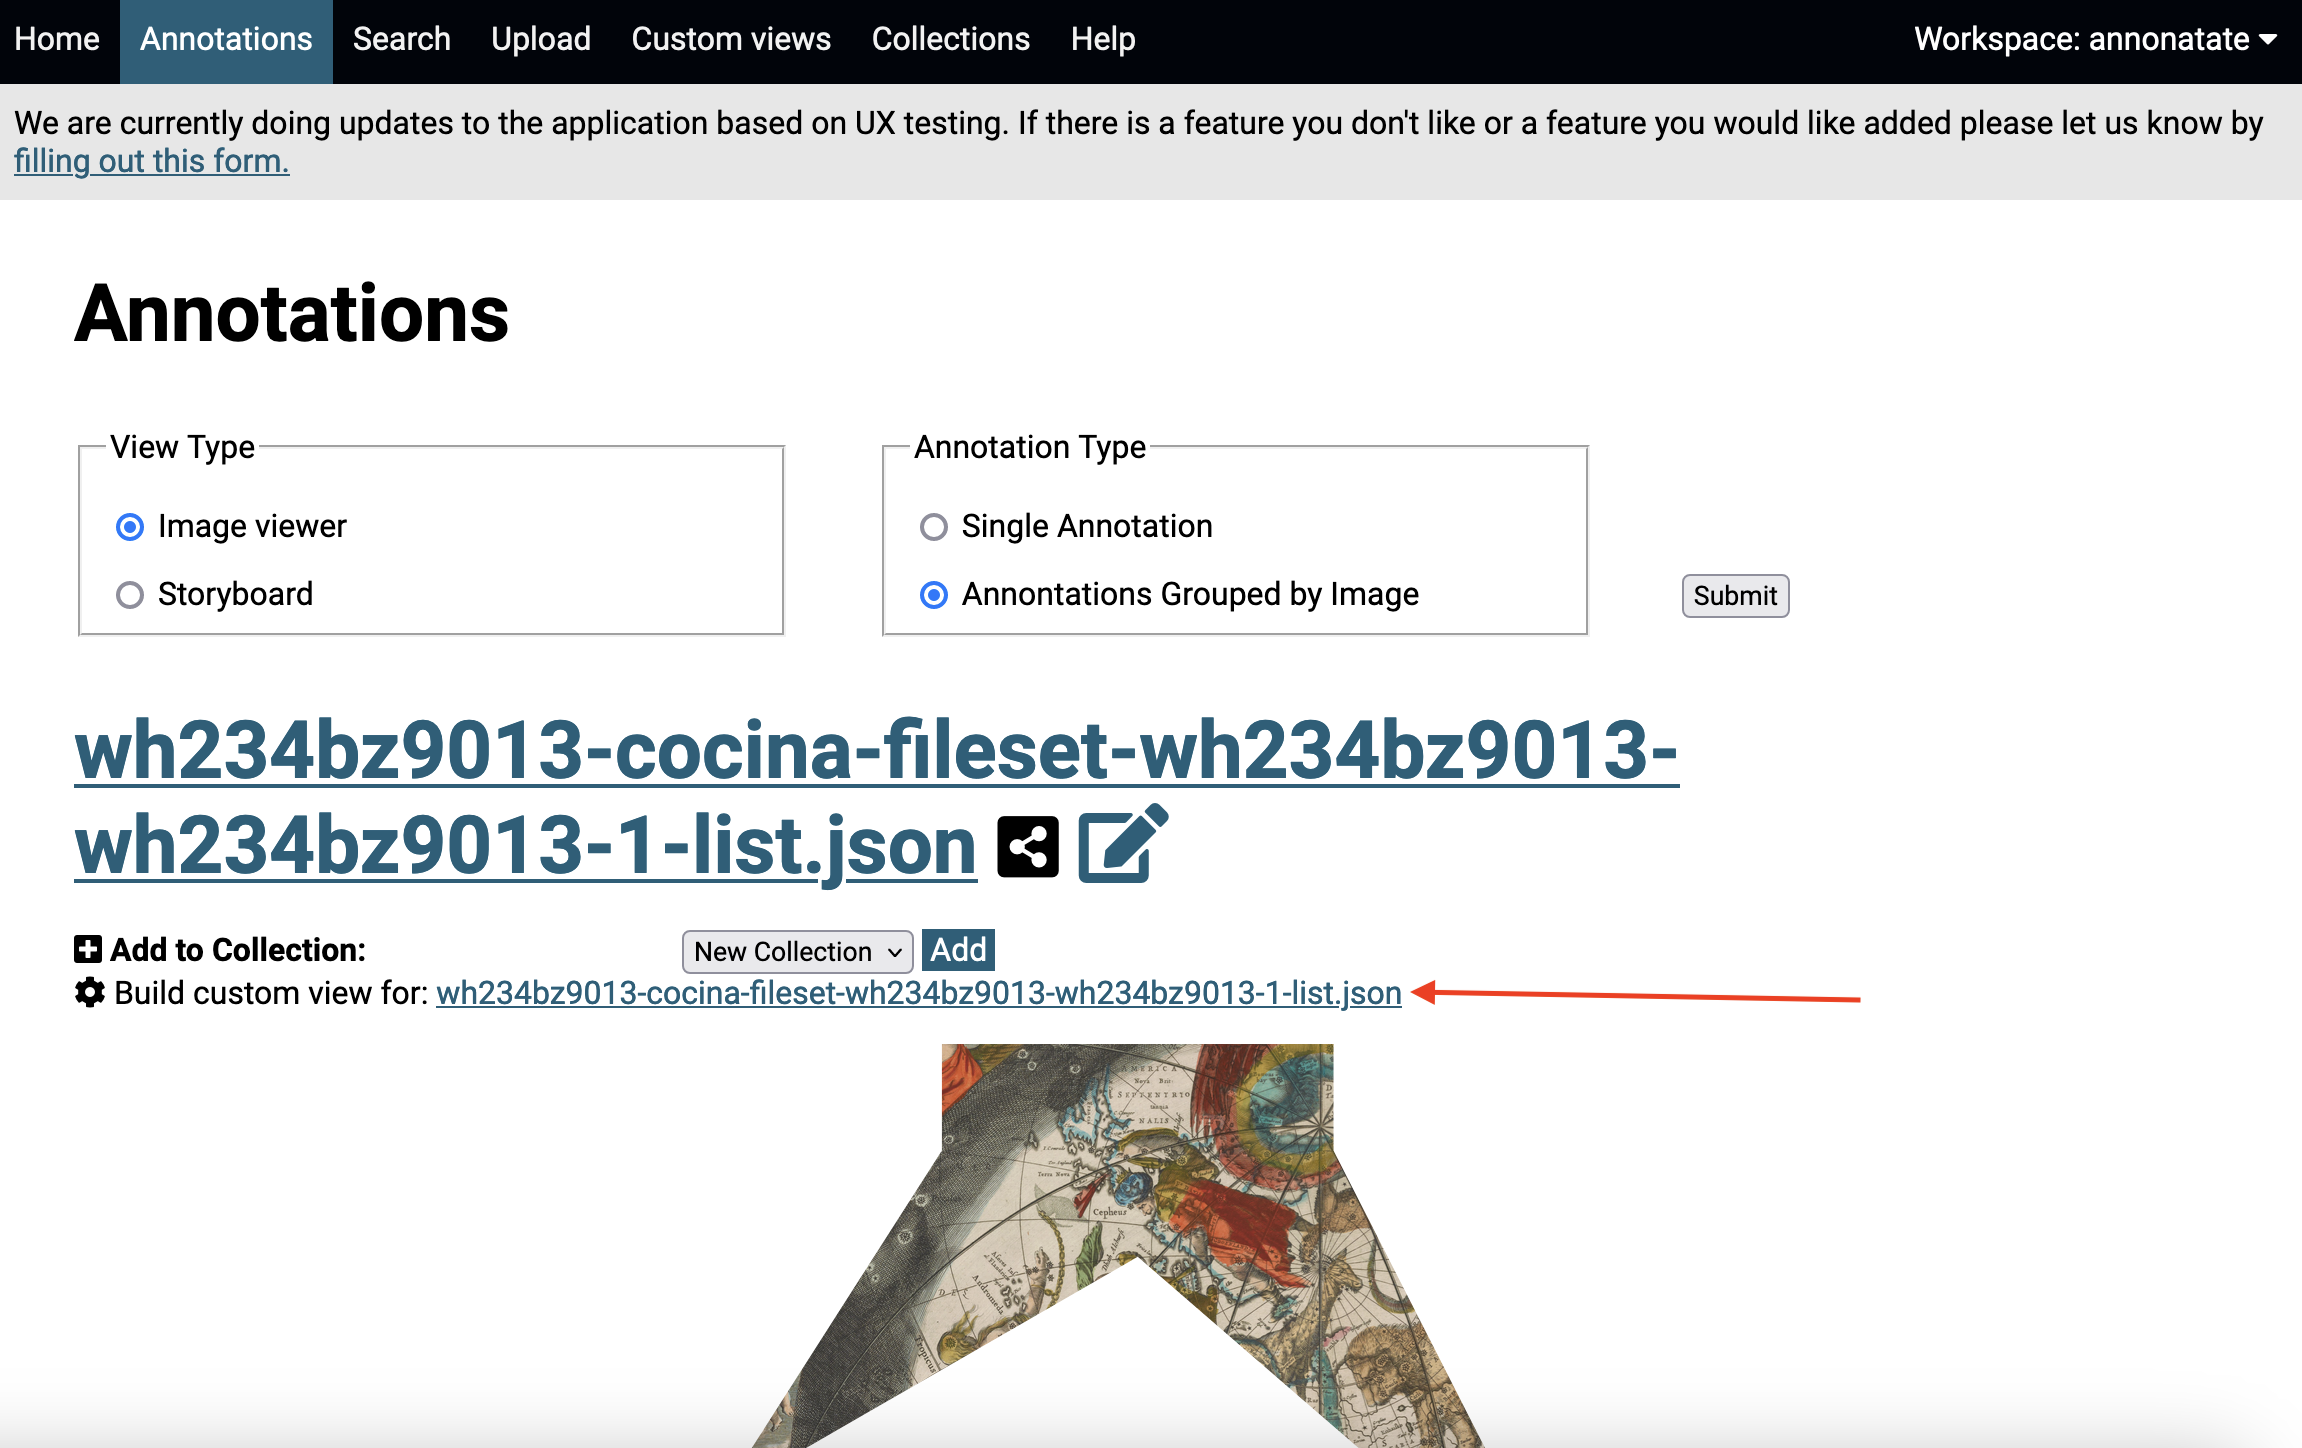
-
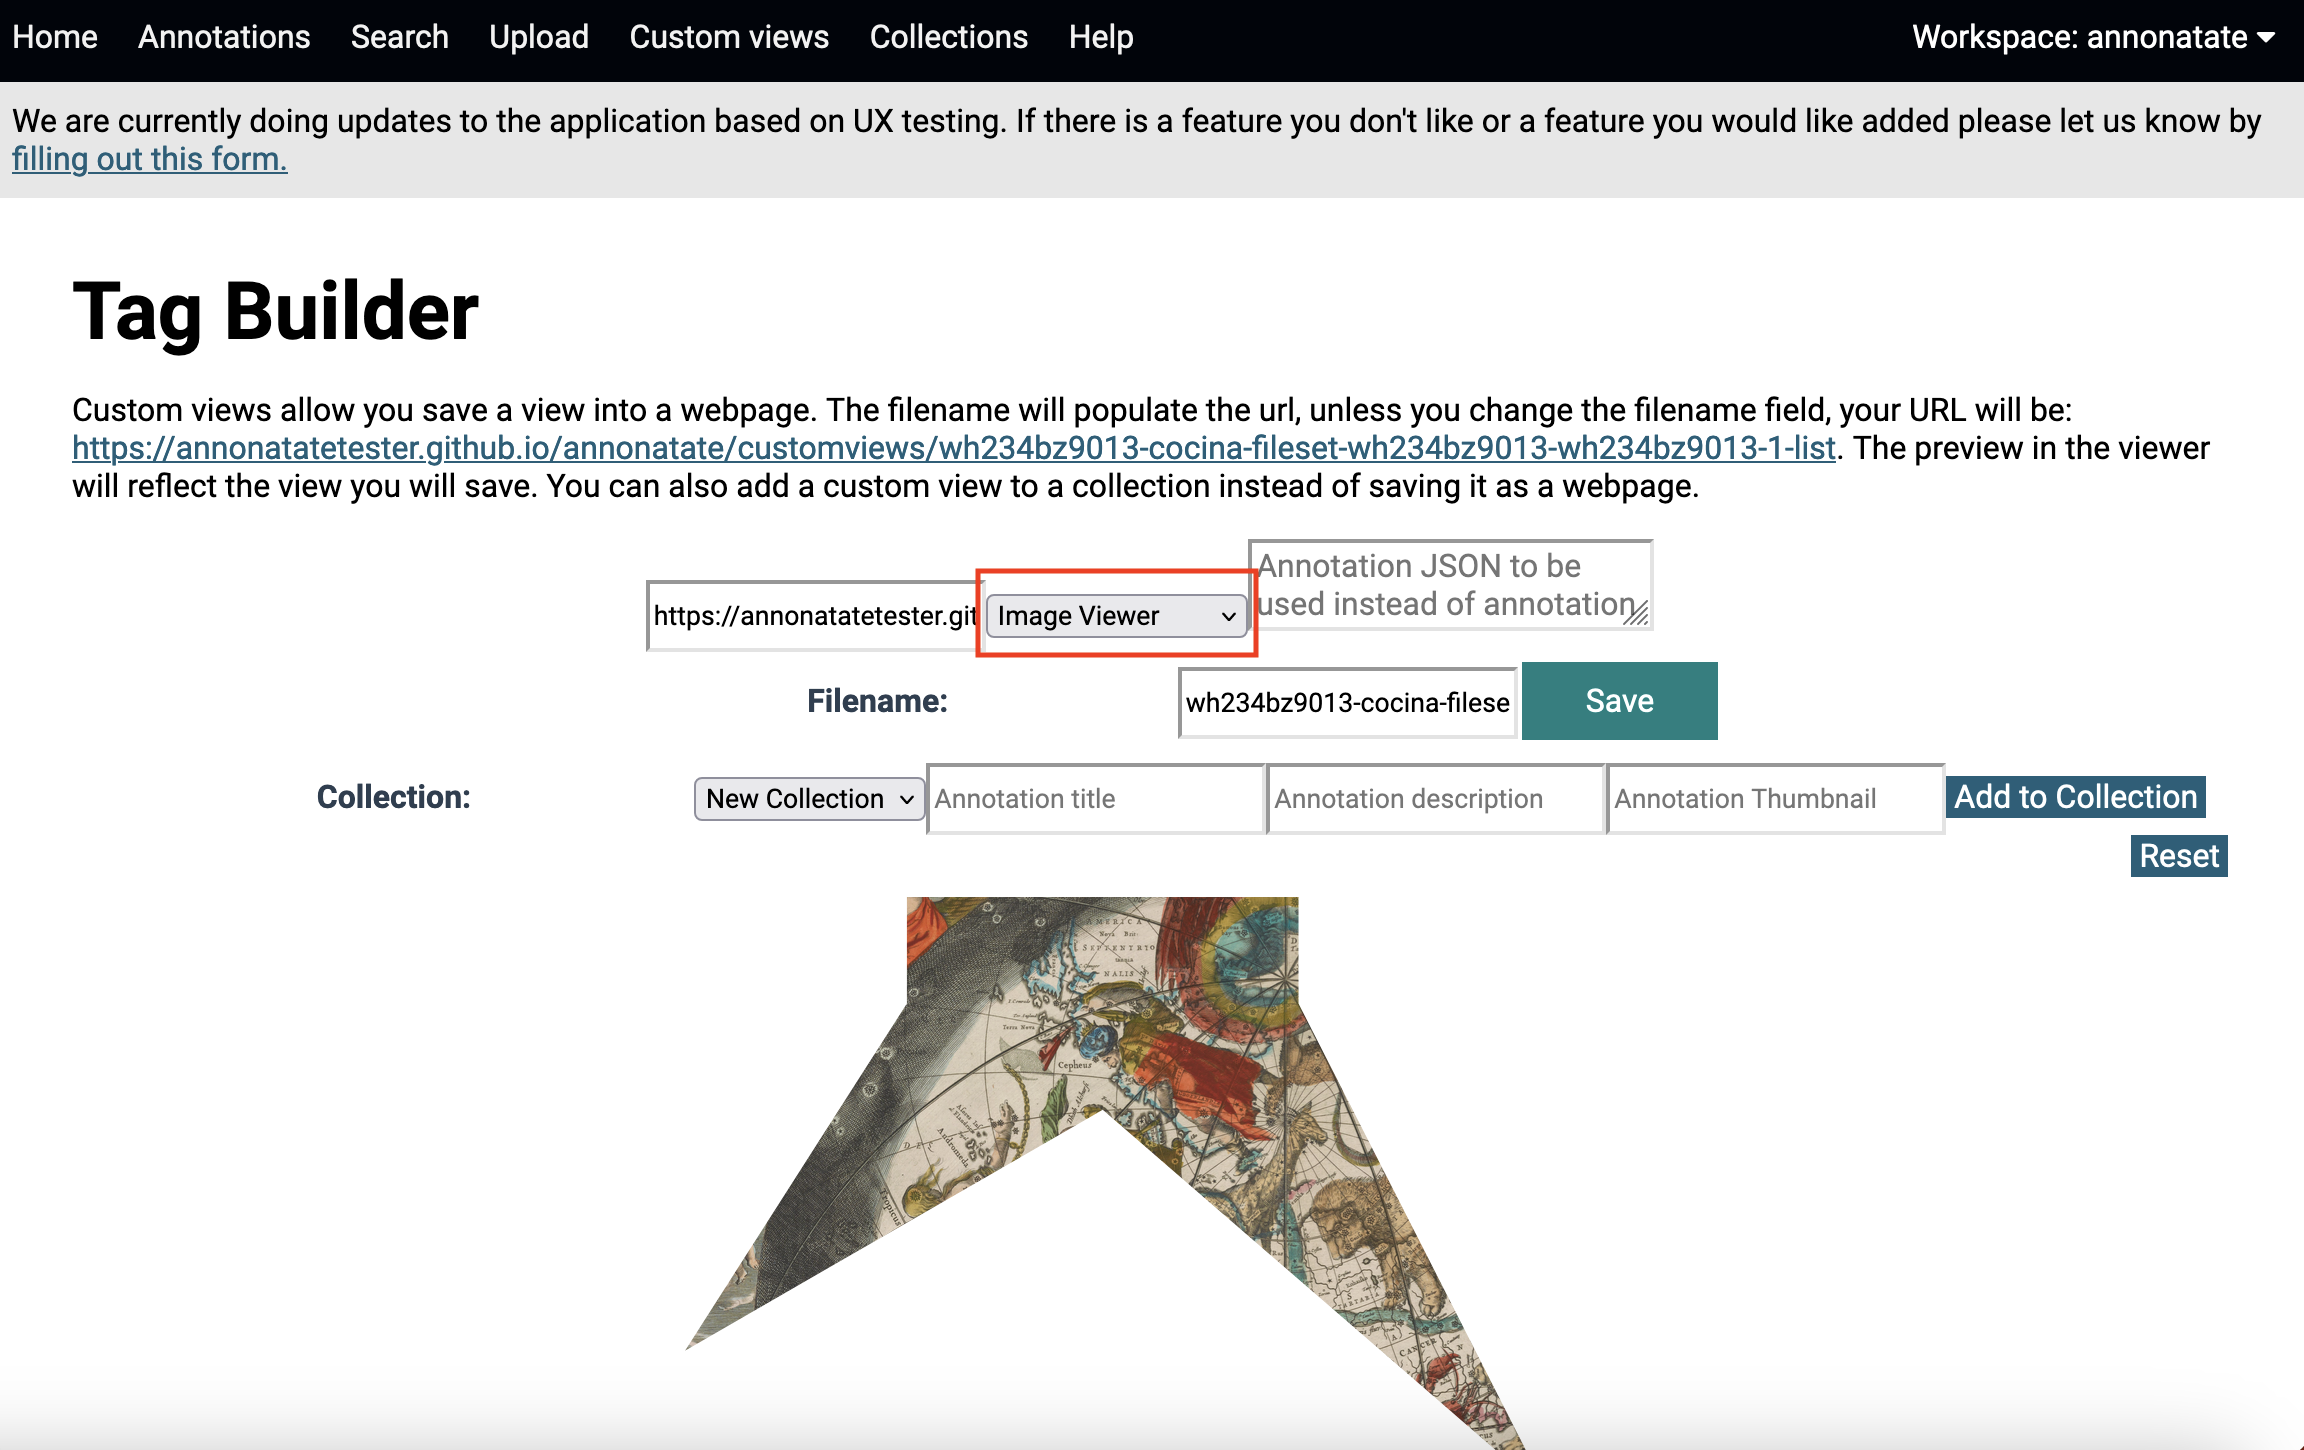
The view you will see is based on the view in your annotation page. You can change it with the highlighted dropdown.
-
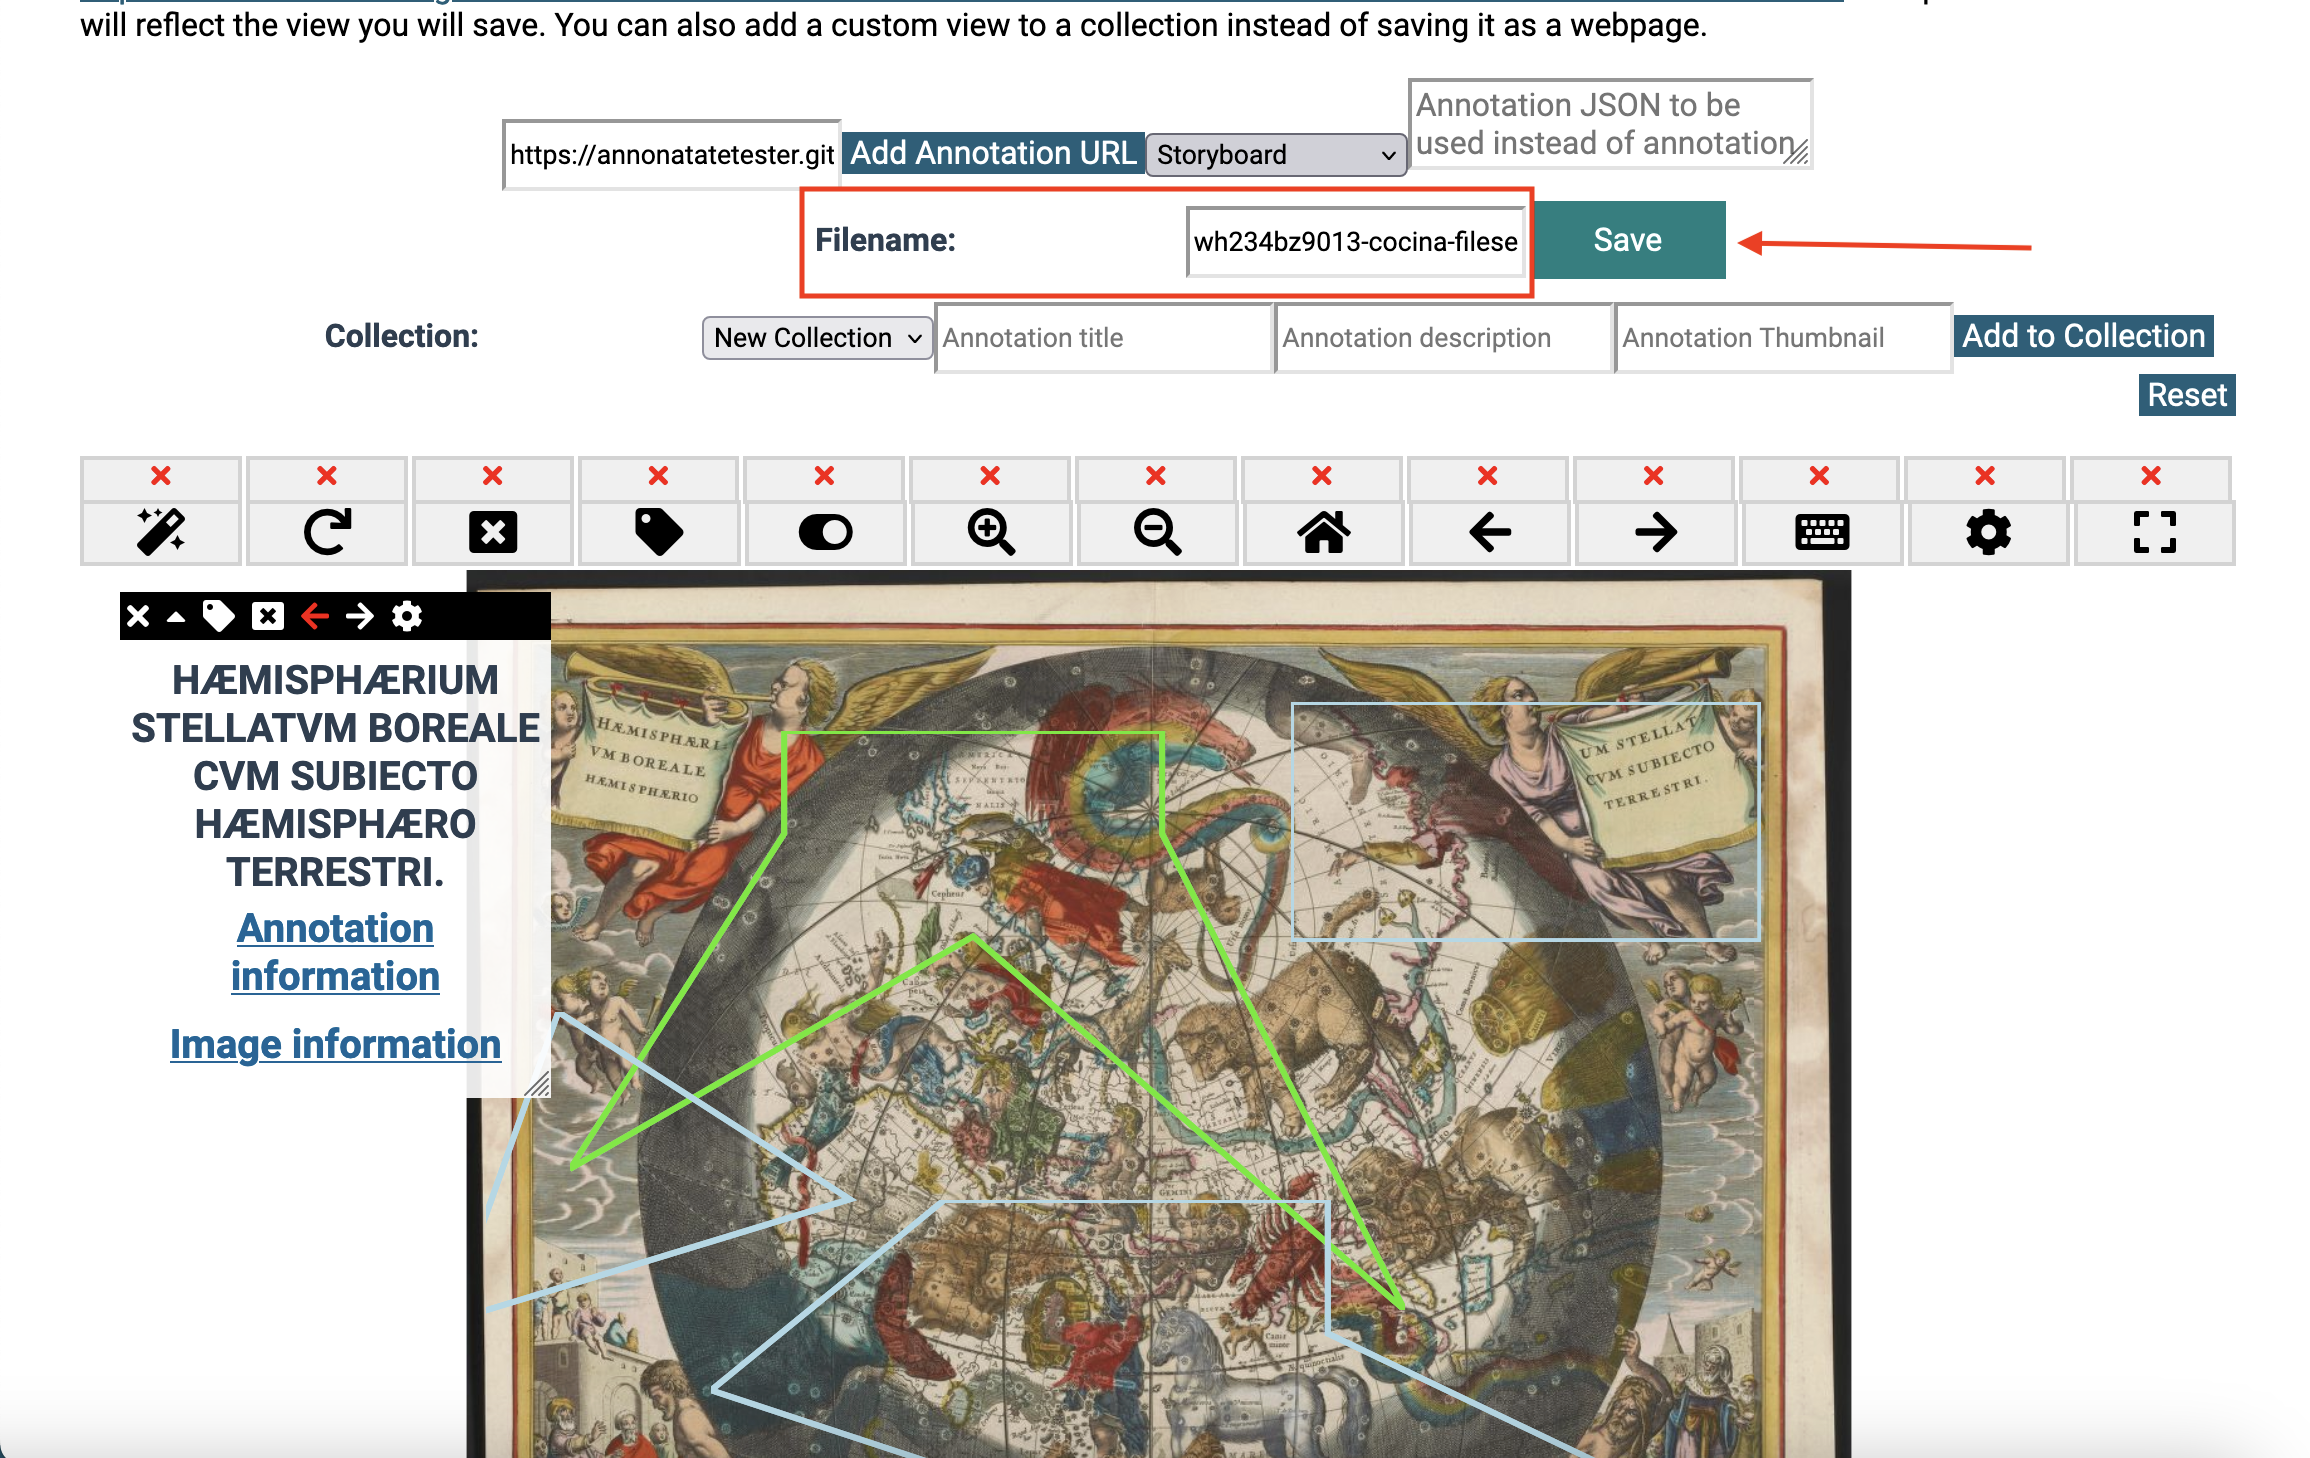
Update the view to reflect how you want the viewer to look. The cog button will allow users to update the settings of the viewer. The viewer will be exactly the same when it is saved so make sure it reflects the correct view.

-
The filename in the box is autogenerated based on the manifest information. Update the filename before saving if you want to. The filename will be used in the url that gets generated. Click the save button.
-
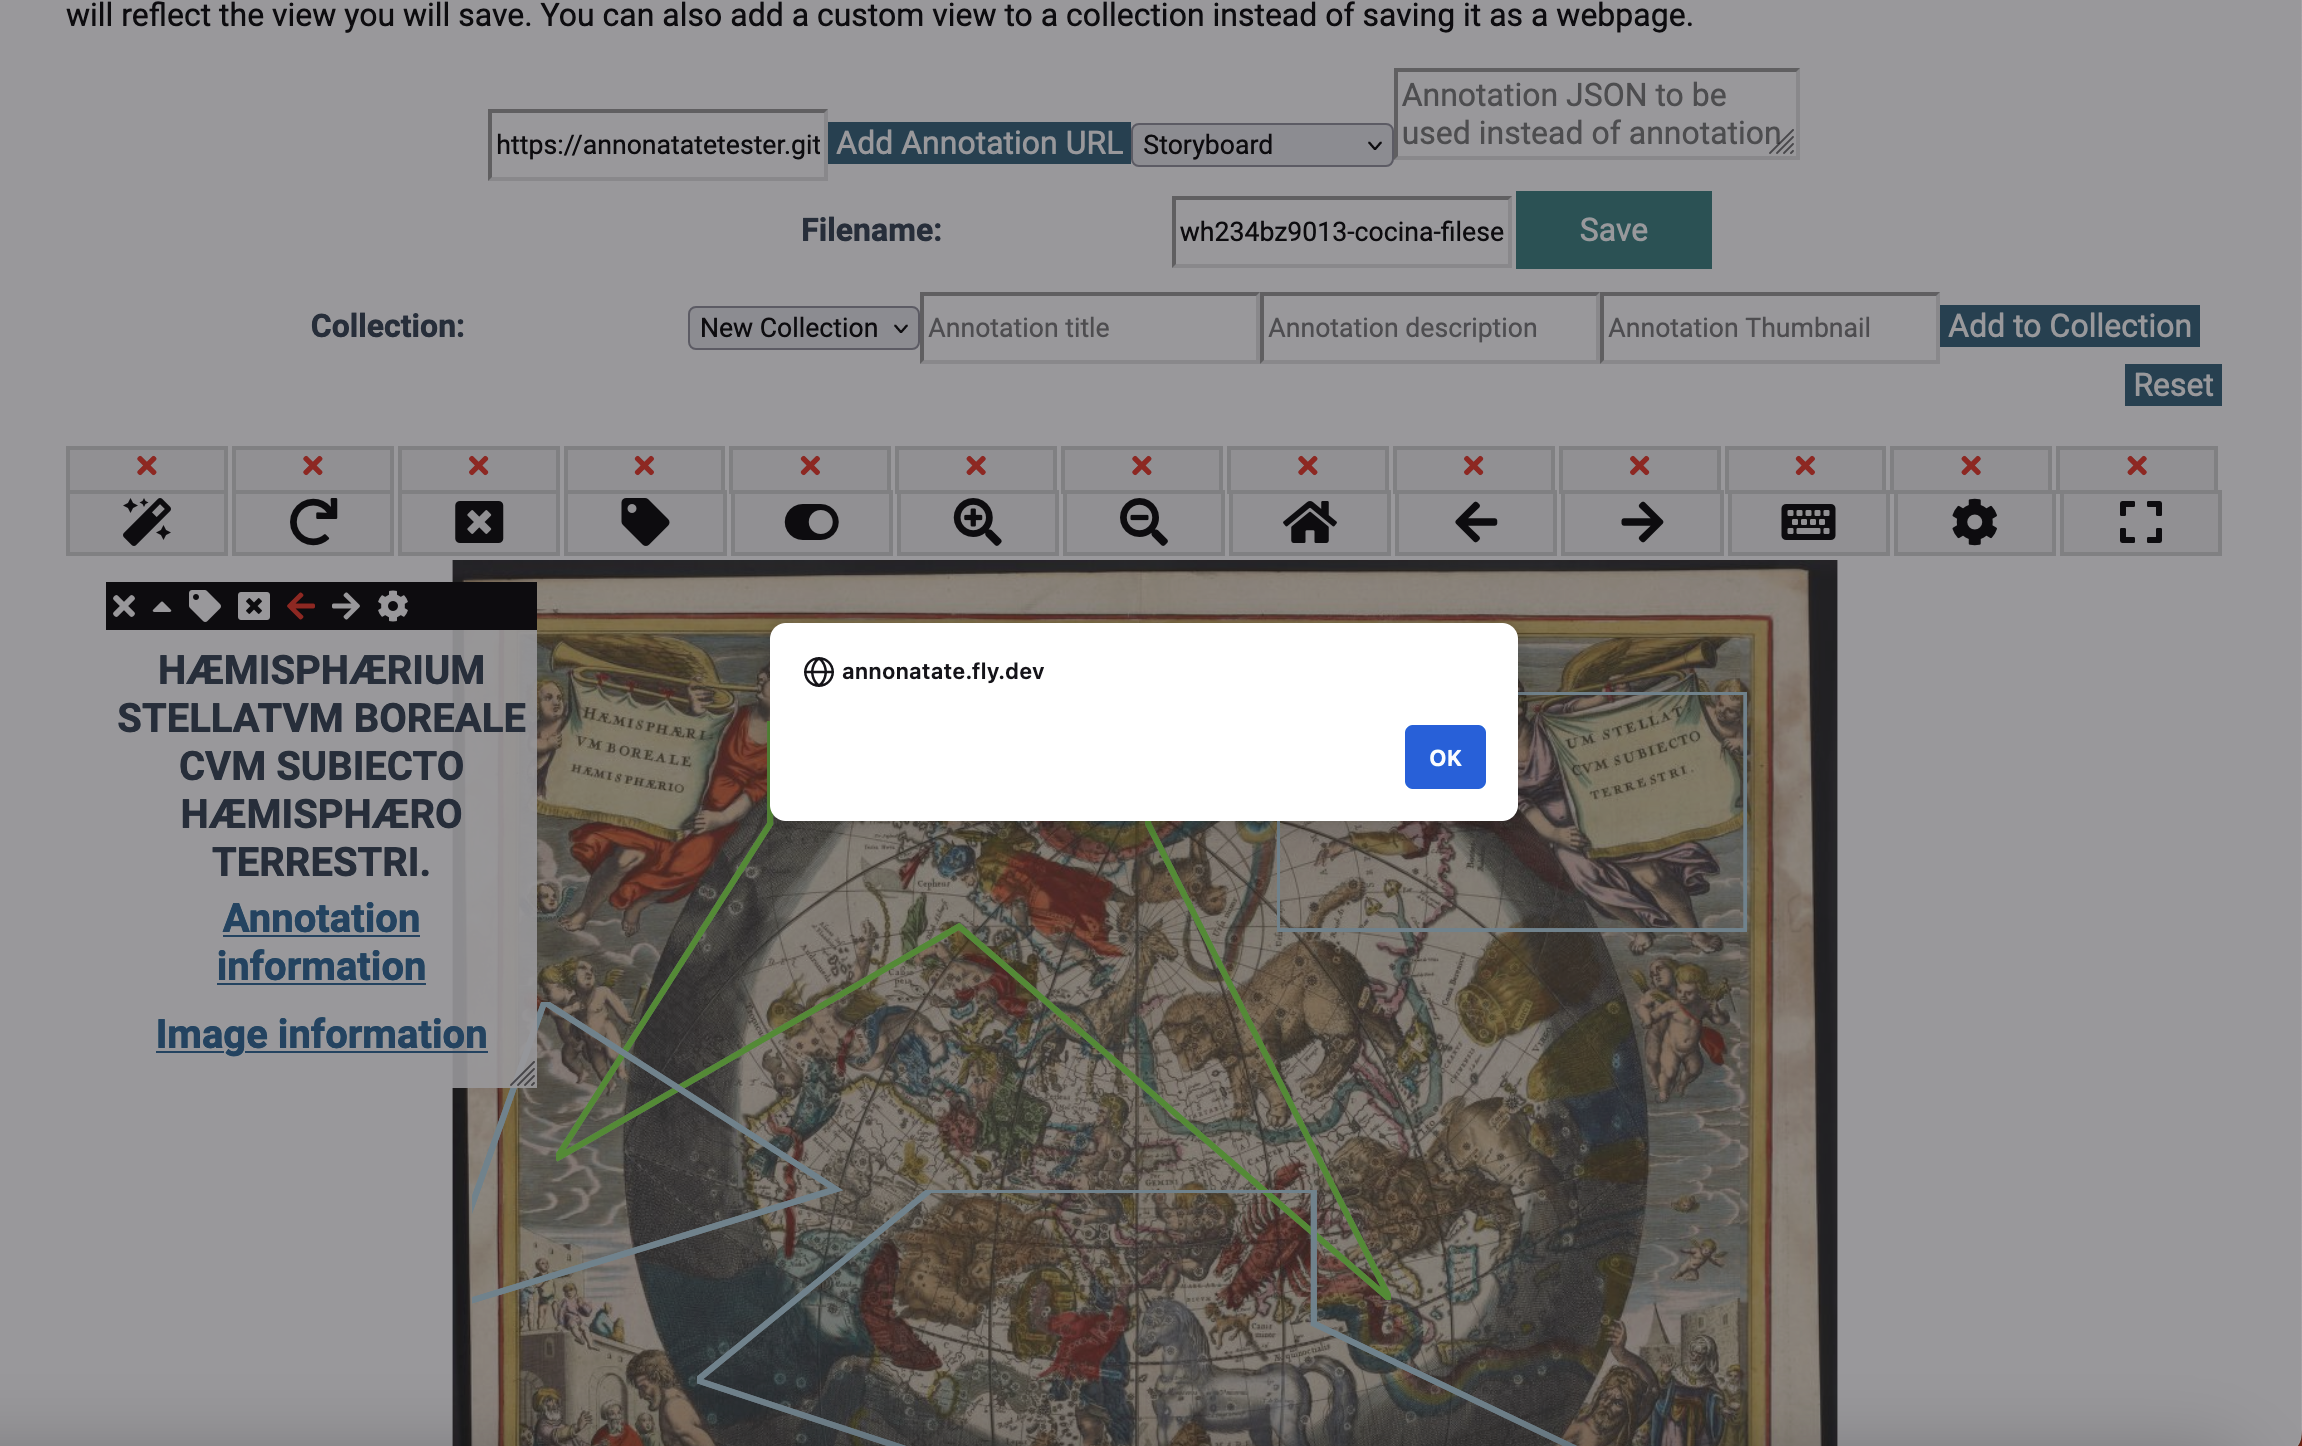
An alert should pop up after the view is saved.
-
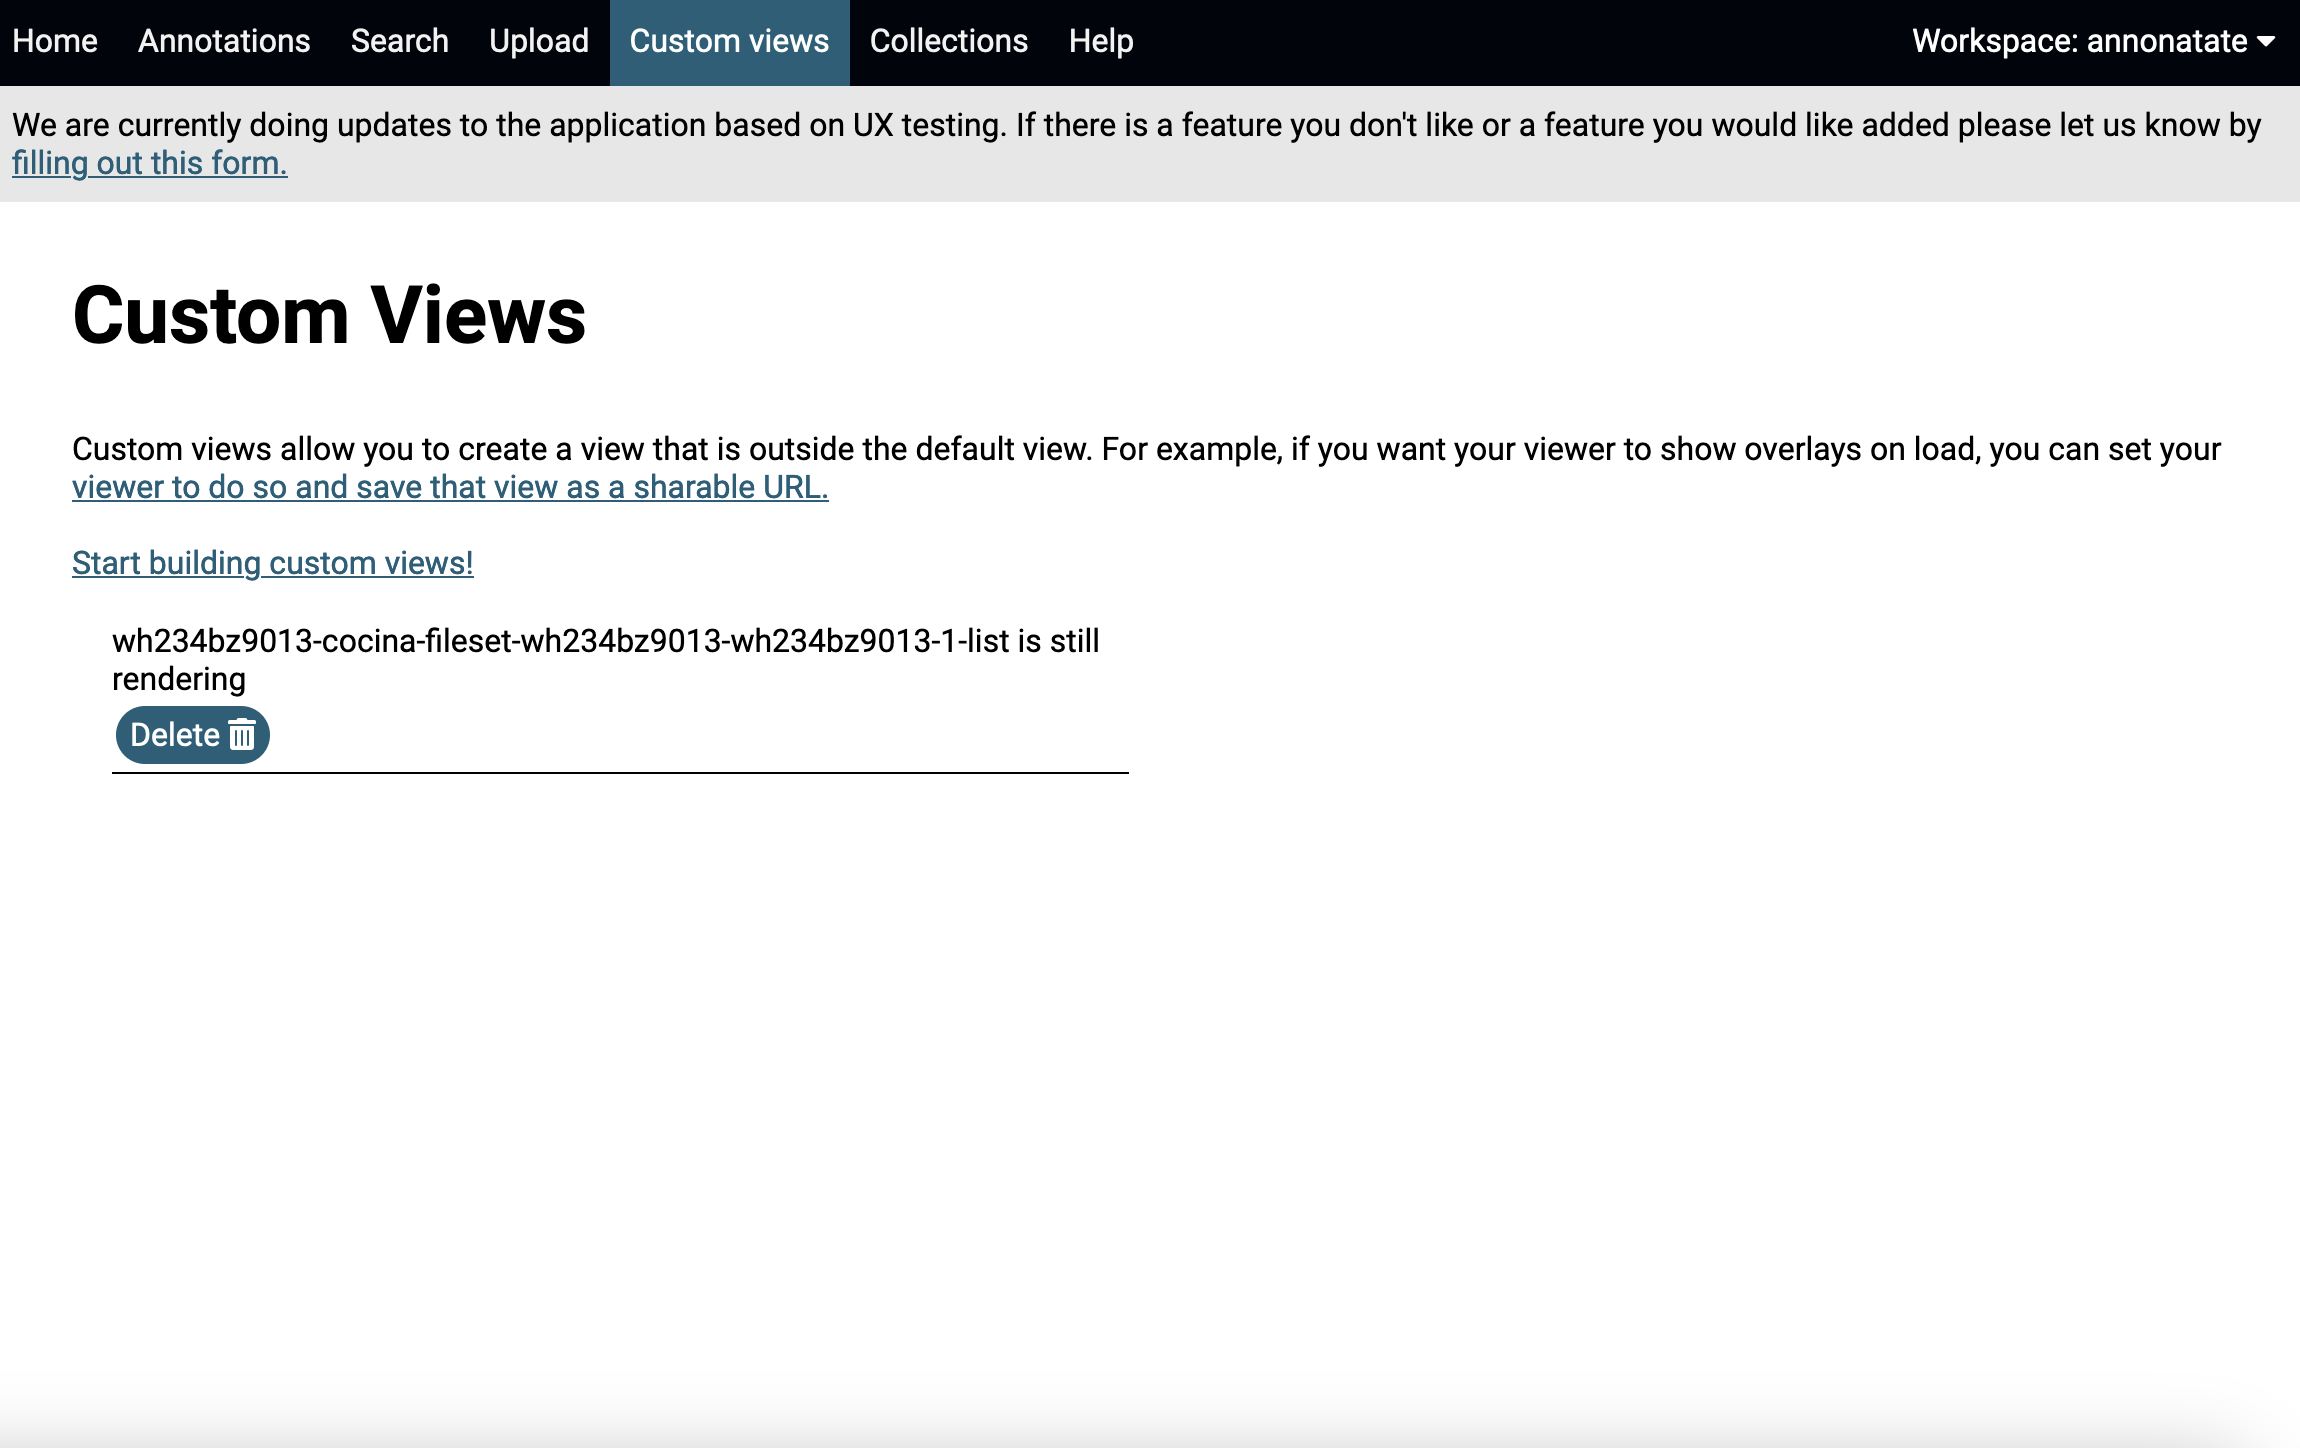
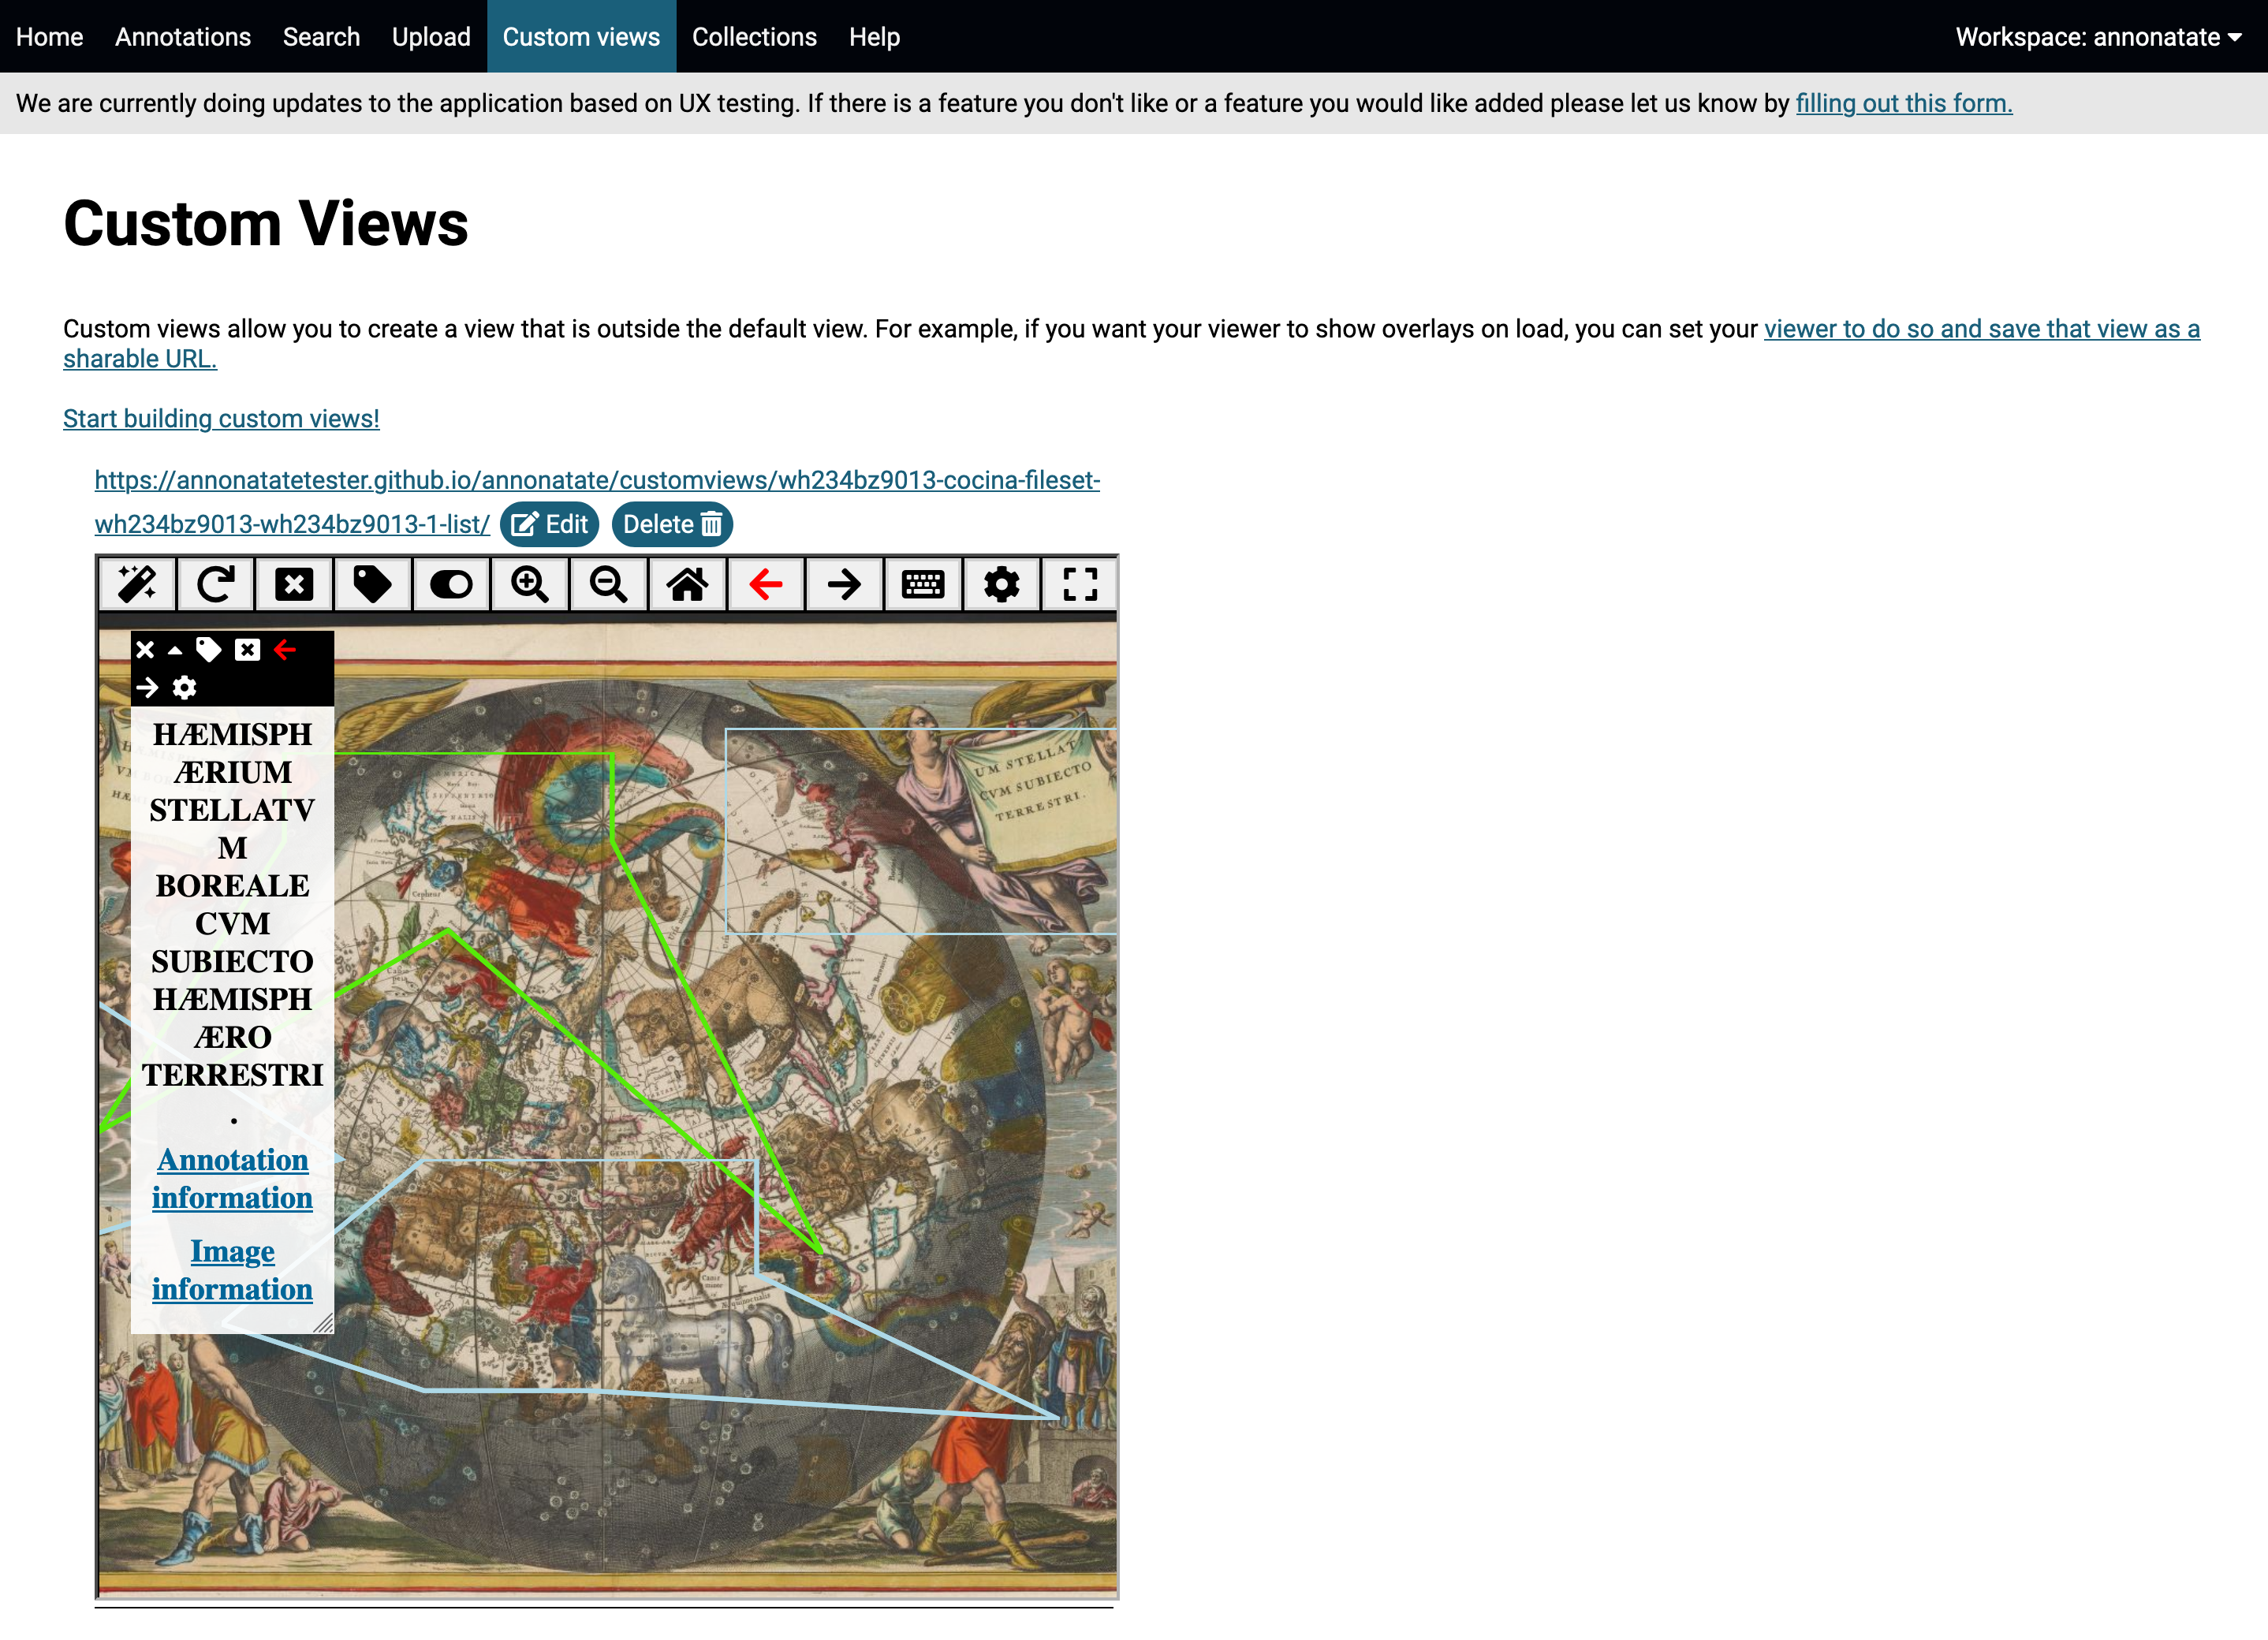
All custom views are saved the the custom view page. After the view is done rendering the page will automatically update.
-
After the custom view is done building you can open the url in a new browser (see next step) or edit the view. These pages can be easily embeded into another webpage with an iframe.
-
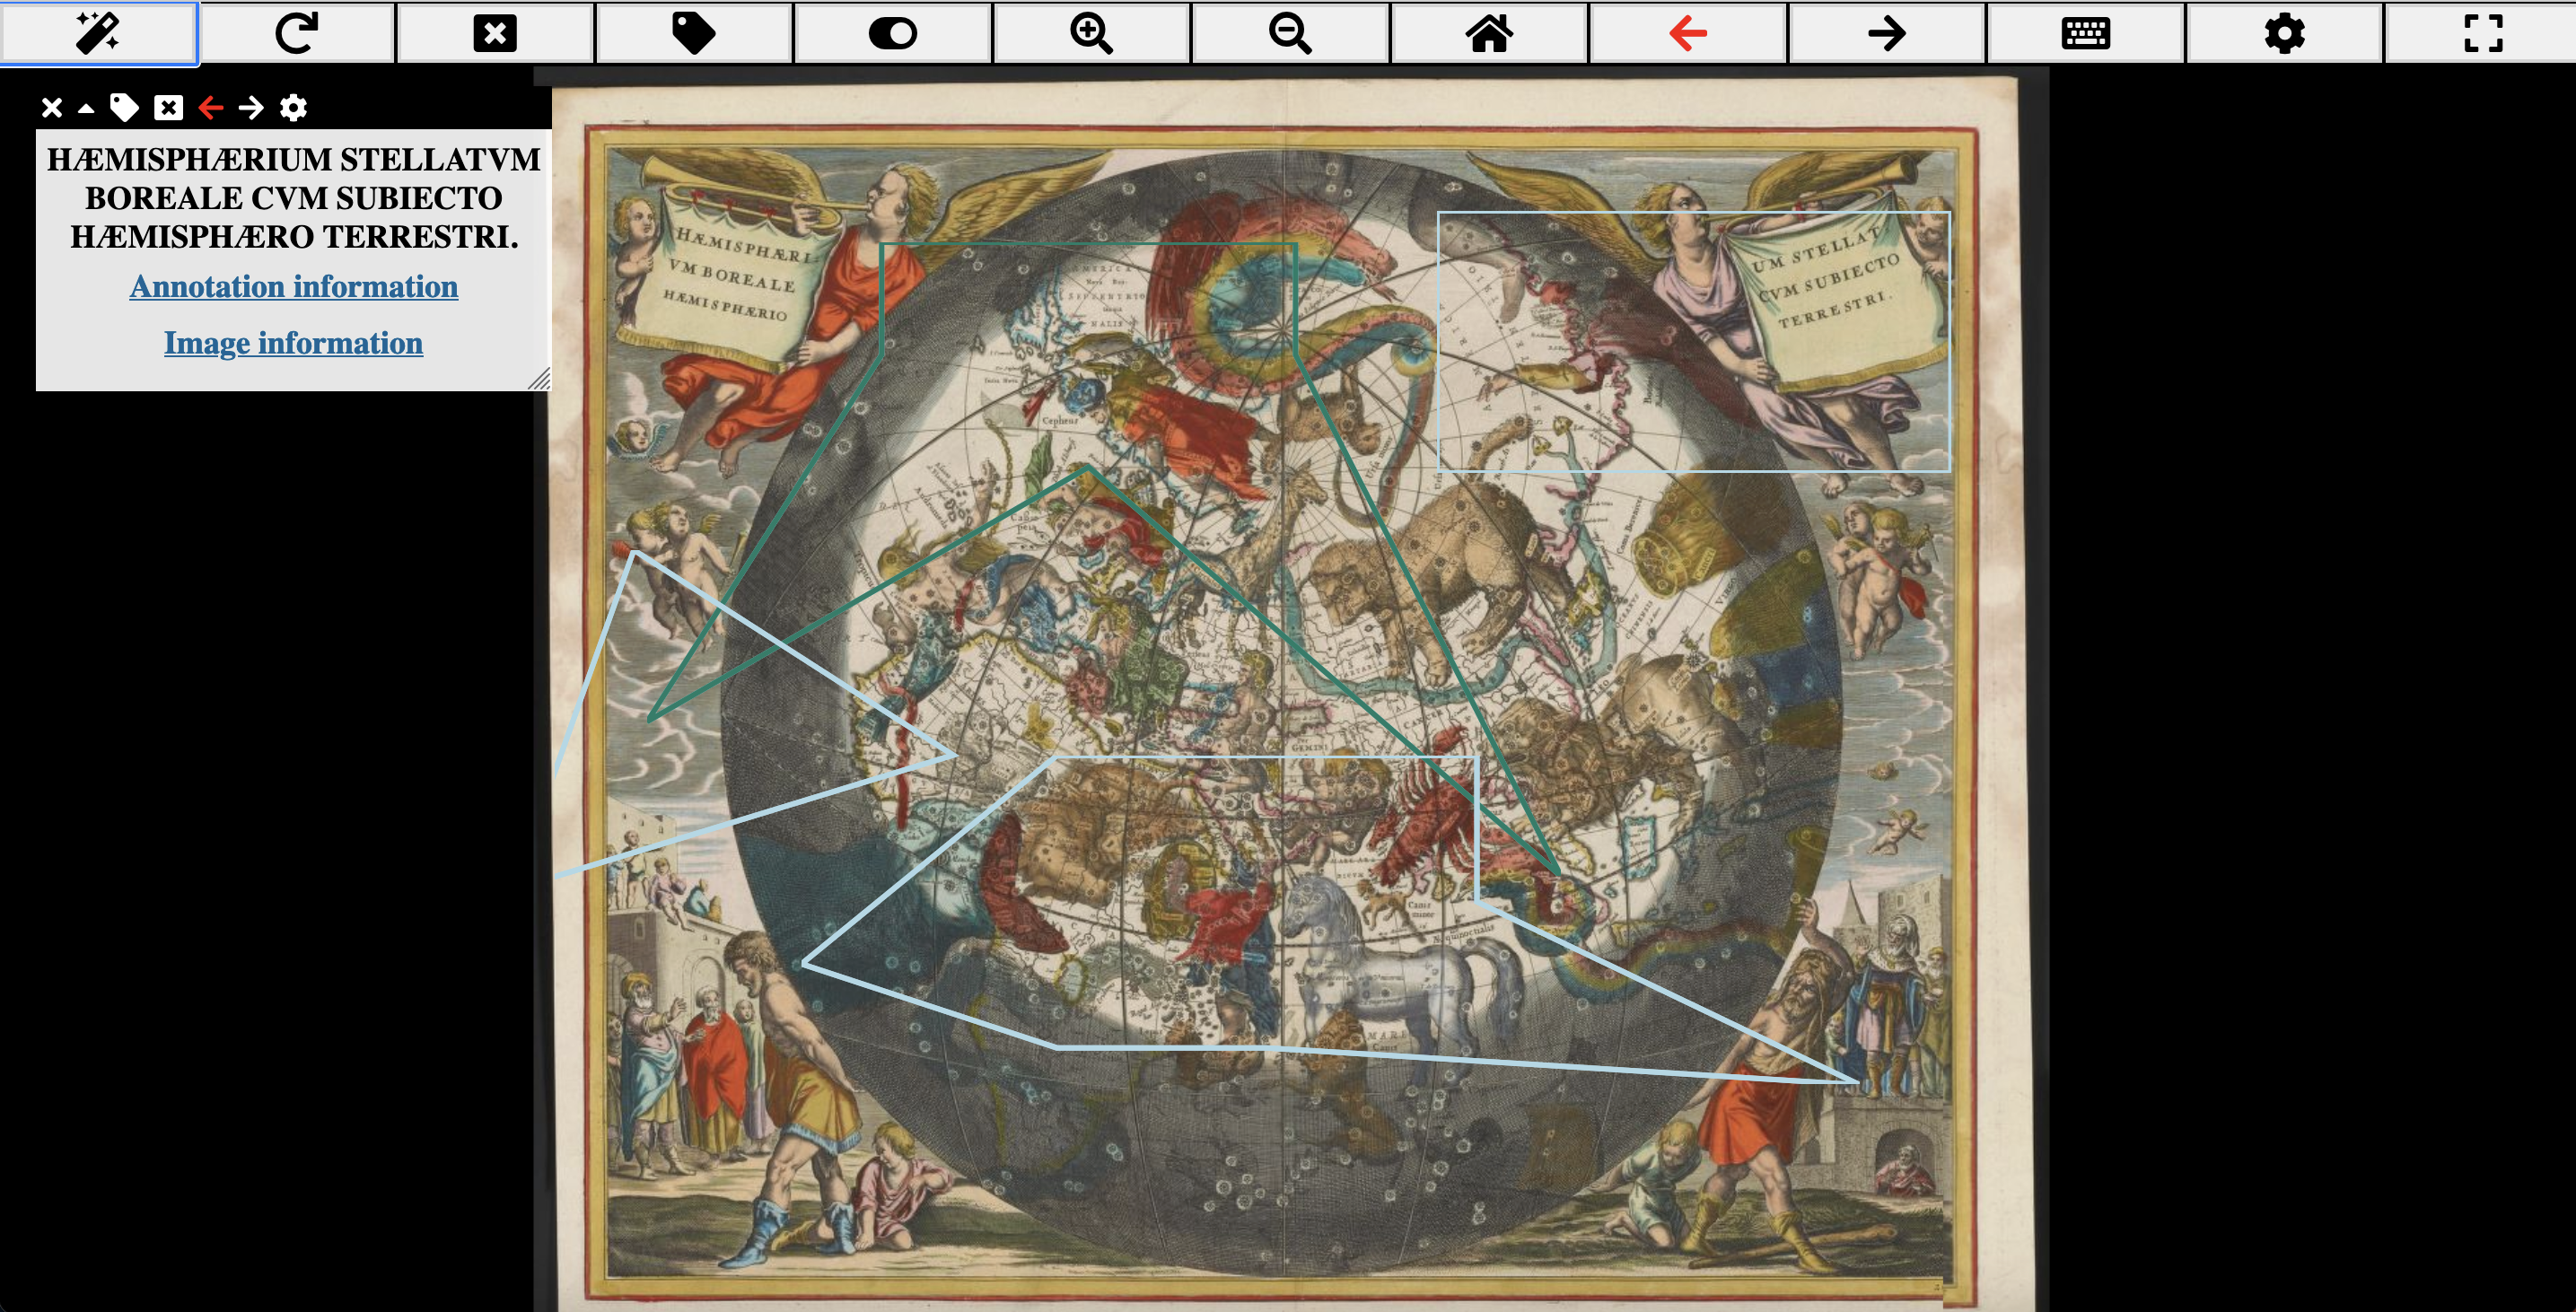
Custom view in browser
Tips
- You do not have to wait on a page for the URL to load. You can go create annotations, collections etc and come back the page.
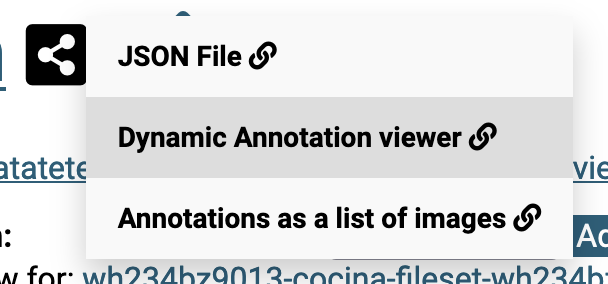
- If you don’t plan on adding additional setting to your view, you do not need to create a custom view. Each annotation has a permanent URL that will display your annotation as a storyboard or image view. It can be found under the share button.
- You can also create custom views in Annona’s tag builder, but you will not be able to save these views to your workspace, however there is a permanent display URL that gets rendered.